Smart Google Analytics
Overview
Description
The Smart Google Analytics Plugin provides detailed insights into your website’s traffic and user interaction. It bridges the gap between your Craft CMS dashboard and Google Analytics, offering real-time data on website visitors, including geographical locations, keywords driving traffic, and browser/device information. Admins can create customizable views and display this information in an easily accessible dashboard.
Plugin's purpose and benefits
This plugin enables you to:
- View real-time visitor data on your website.
- Display analytics using customizable widgets on your Craft CMS dashboard.
- Gain insights into audience behavior, geographical data, and device/browser information.
- Monitor keyword performance and implement data-driven strategies.
Get Started
Quick setup instructions


How To Use & Features
How Does This Extension Work?
Smart Google Analytics integrates with Google Analytics to provide website performance reports directly within the Craft CMS dashboard. Admins can create multiple analytics views, configure various chart types, and remove outdated views when needed.
Major Features:
- Create multiple views or edit existing ones to match specific needs.
- Remove unnecessary views.
- On the Analytics Dashboard Page, numerous charts will be displayed with the help of widgets.
- Display different types of charts such as line charts, pie charts, geo charts, etc.
- Monitor page views, sessions, bounce rates, and more.
- Use real-time reports to track current visitor behavior on the website.
- Customize widgets with different metrics and dimensions for more targeted reports.
Installation Steps
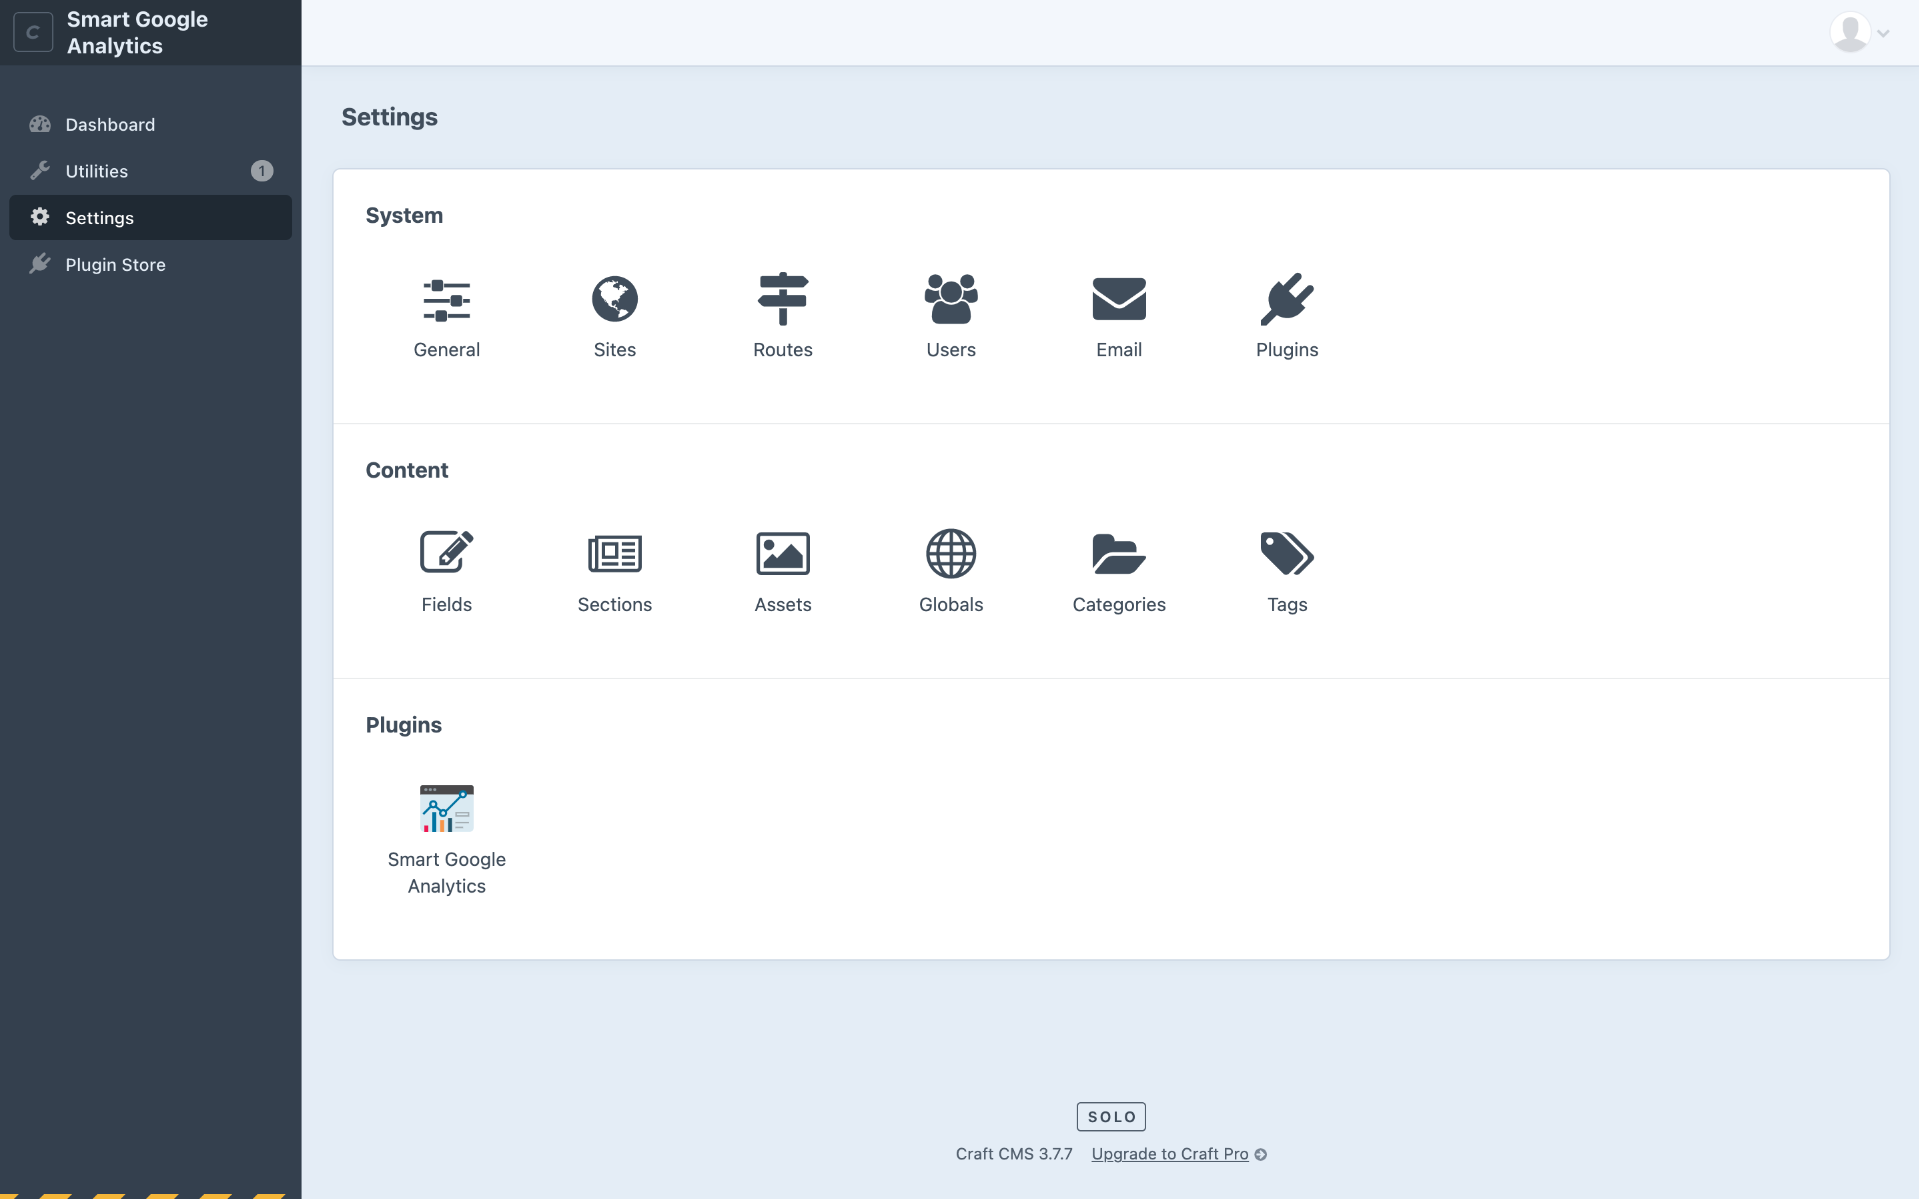
From the Plugin Store (Without Composer):
- Open the Plugin Store in the Craft CMS Admin Panel.
- Search for "Smart Google Analytics."
- Click “Install.”
With Composer on Command Prompt:
- Open Command Prompt/Terminal and navigate to your project directory:
cd /path/to/my-project
- Require the plugin using the command:
composer require zealouswebcraftcms/smart-google-analytics
- Install the plugin:
/craft install/plugin smart-google-analytics
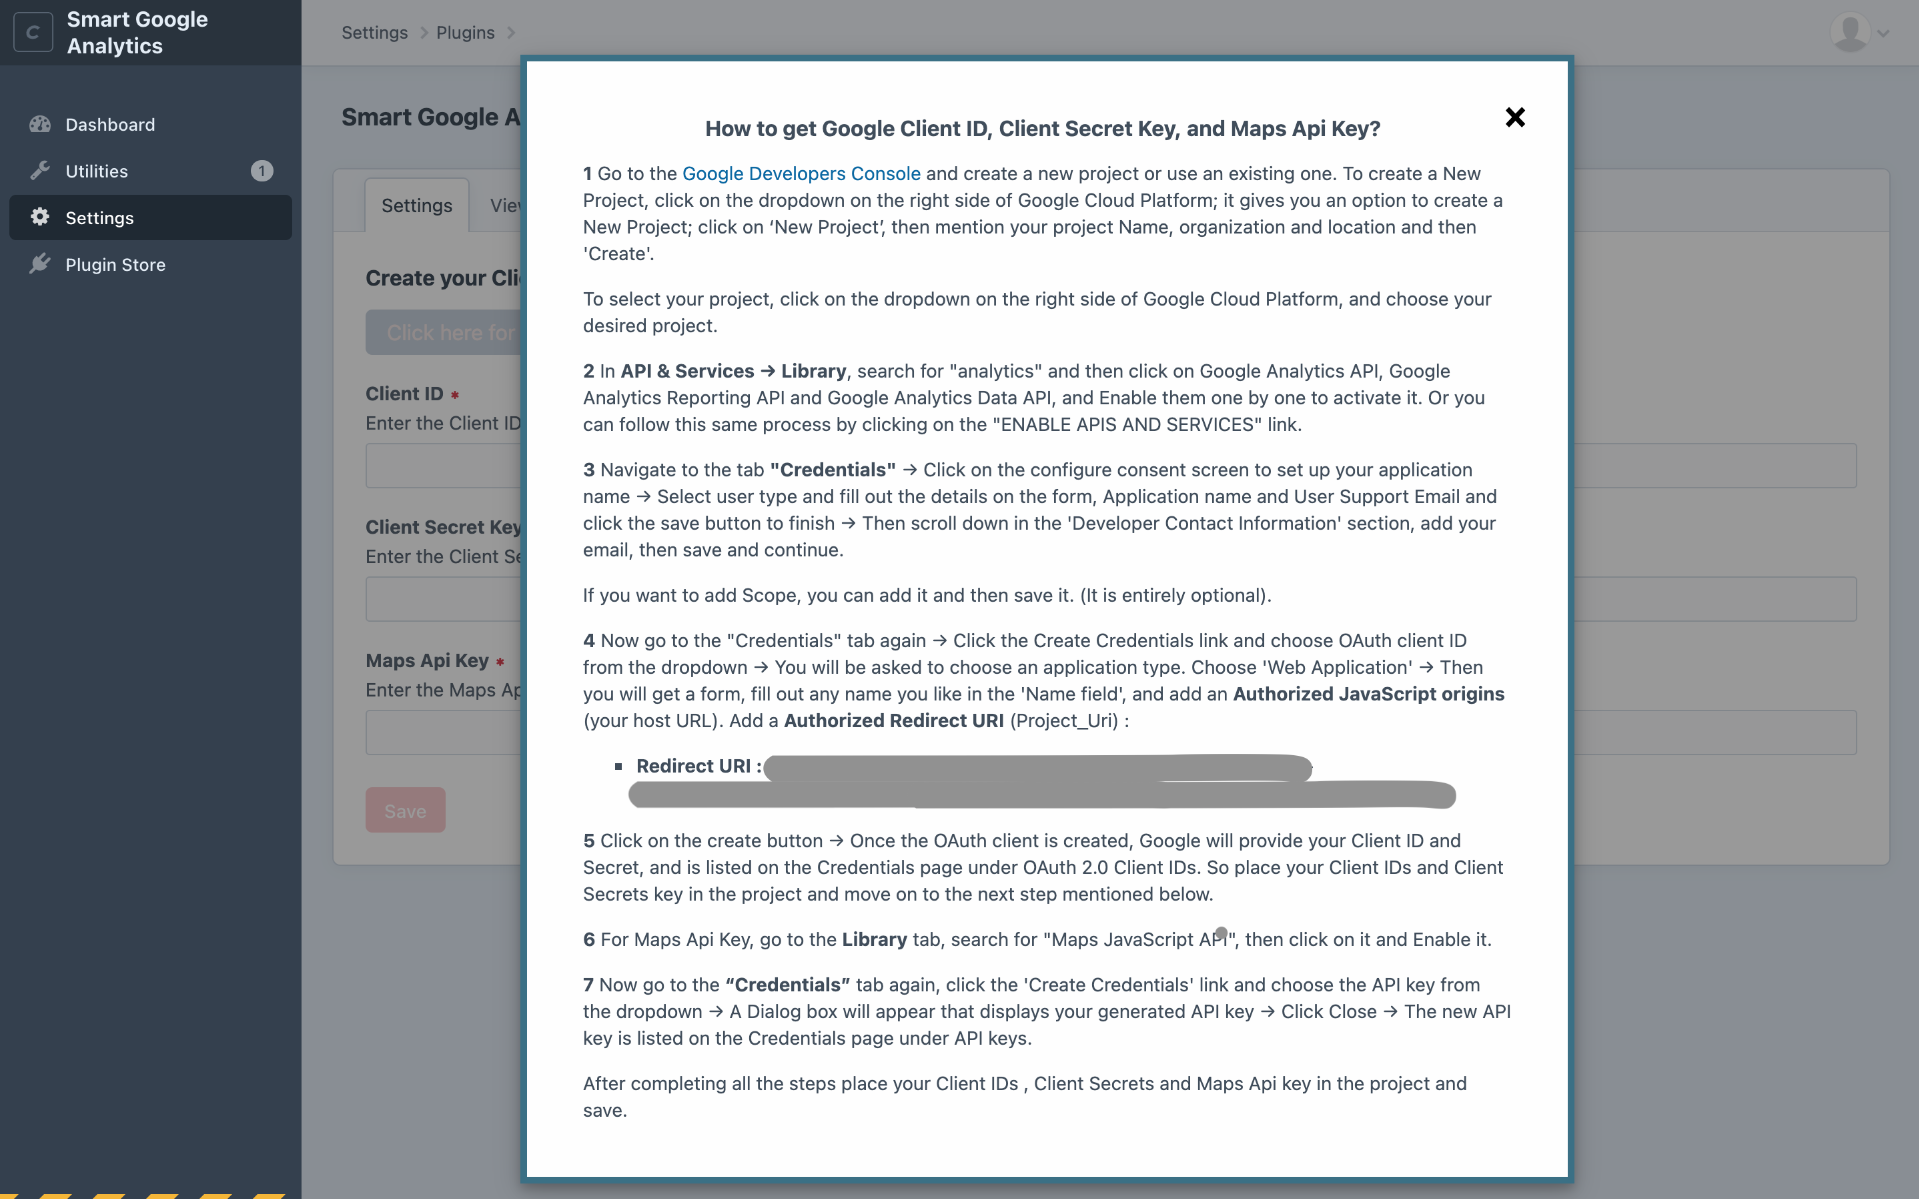
How to Generate Client ID, Client Secret Key, and Map API Keys:
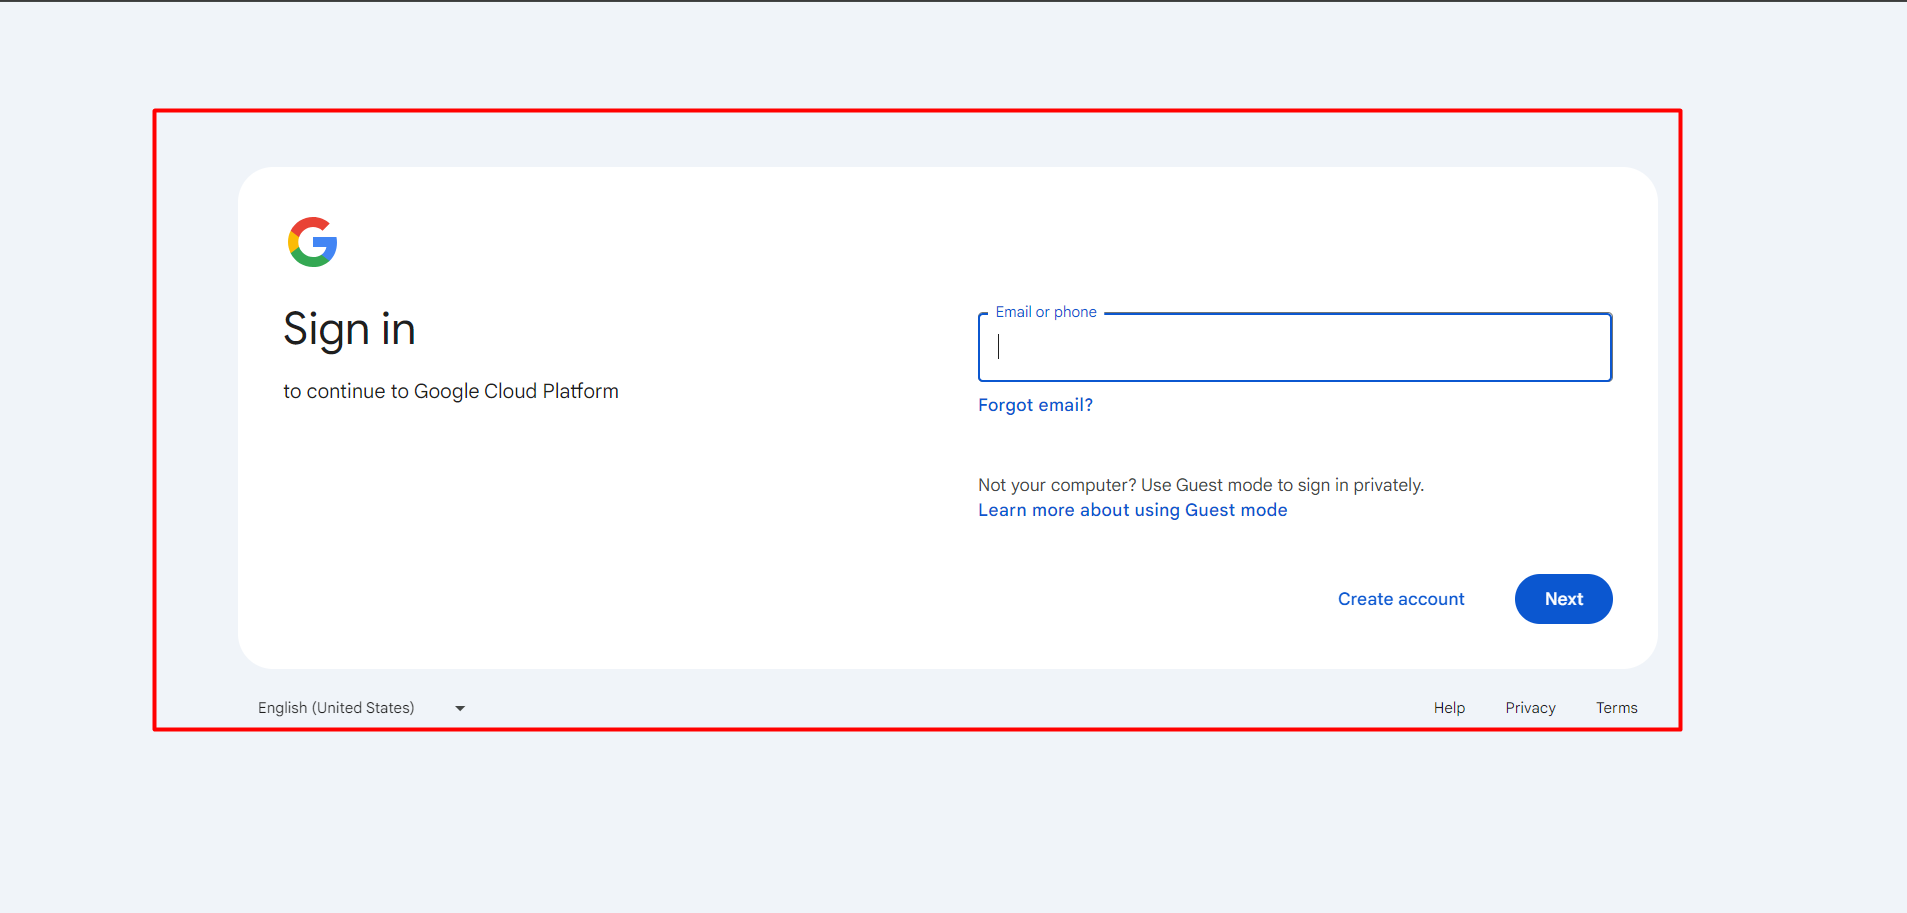
Step 1: Create a Project in Google API Console Developers
- Sign in to "Google's Developers Console."
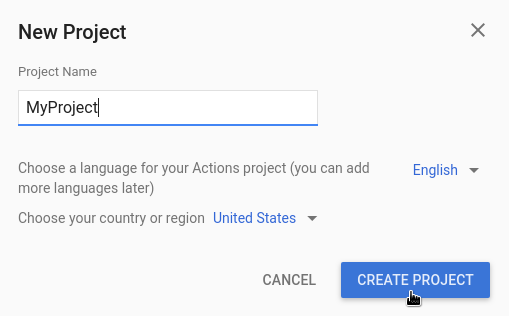
- Create a new project or use an existing one:
- Click on the dropdown on the right side of Google Cloud Platform.
- Click on ‘New Project,’ then mention your project name, organization, and location, then click 'Create'.
- To select your project, click on the dropdown on the right side of Google Cloud Platform and choose your desired project.
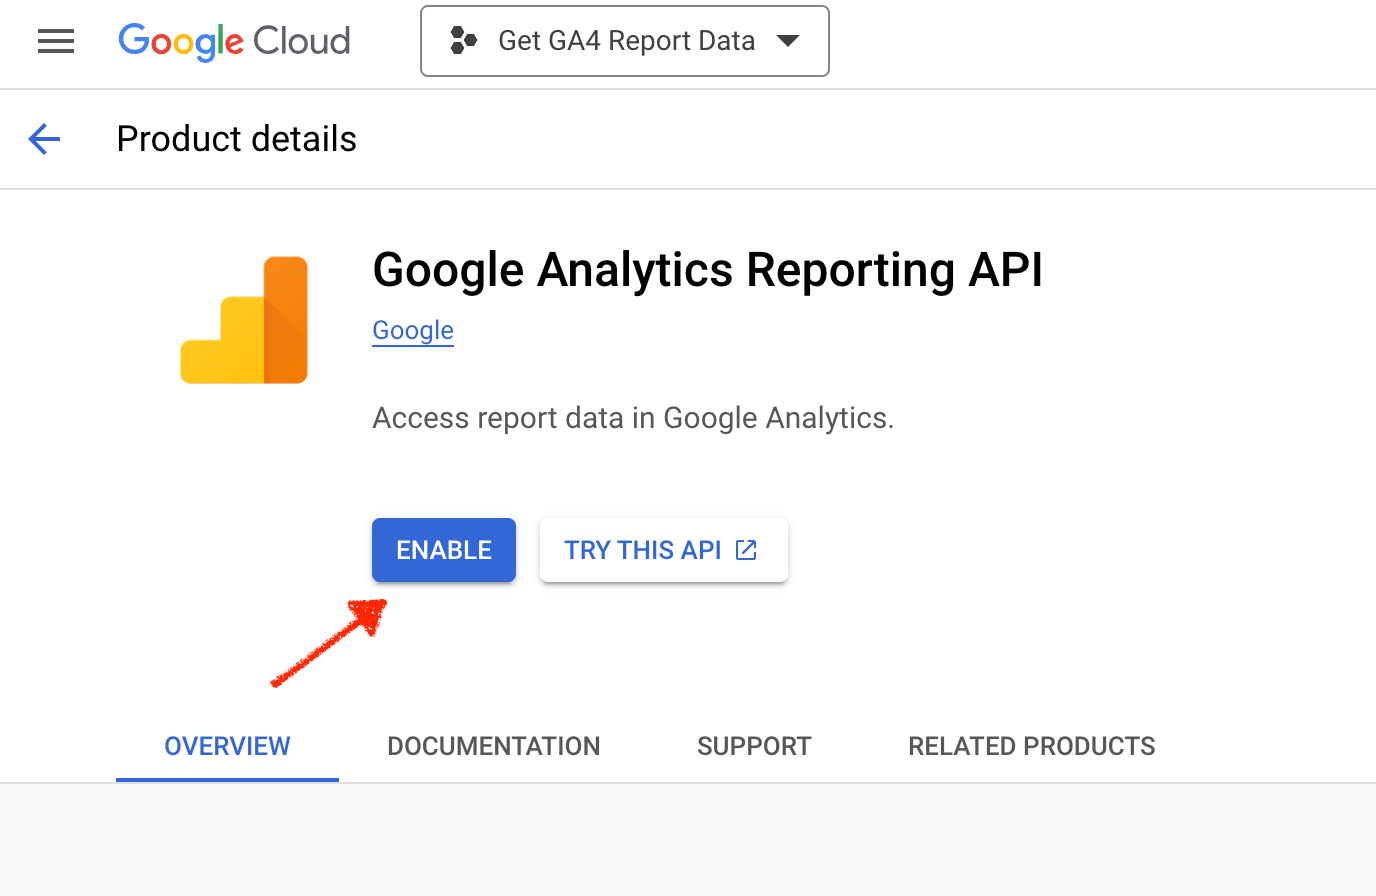
- In API & Services → Library, search for "analytics" and then enable:
- Google Analytics API
- Google Analytics Reporting API
- Google Analytics Data API
- Navigate to the Credentials tab.
- Click on Configure consent screen to set up your application name.
- Select user type and fill out the details on the form, including application name and user support email, then click the save button.
- Scroll down in the 'Developer Contact Information' section, add your email, then save and continue.
- (Optional) If you want to add scope, you can do so and then save it.
- Select your application type:
- Go to the Credentials tab again.
- Click Create Credentials and choose OAuth client ID from the dropdown.
- Choose 'Web Application' as the application type.
- Fill out any name you like in the 'Name' field and add an Authorized JavaScript Origins (your host URL, e.g., http://localhost).
- Add an Authorized Redirect URI (available on the settings page).
- Click on the create button.
- Once the OAuth client is created, Google will provide your client ID and secret. Place your Client IDs and Client Secret key in the project.
- In API & Services → Library, search for "Maps JavaScript API," then enable it.
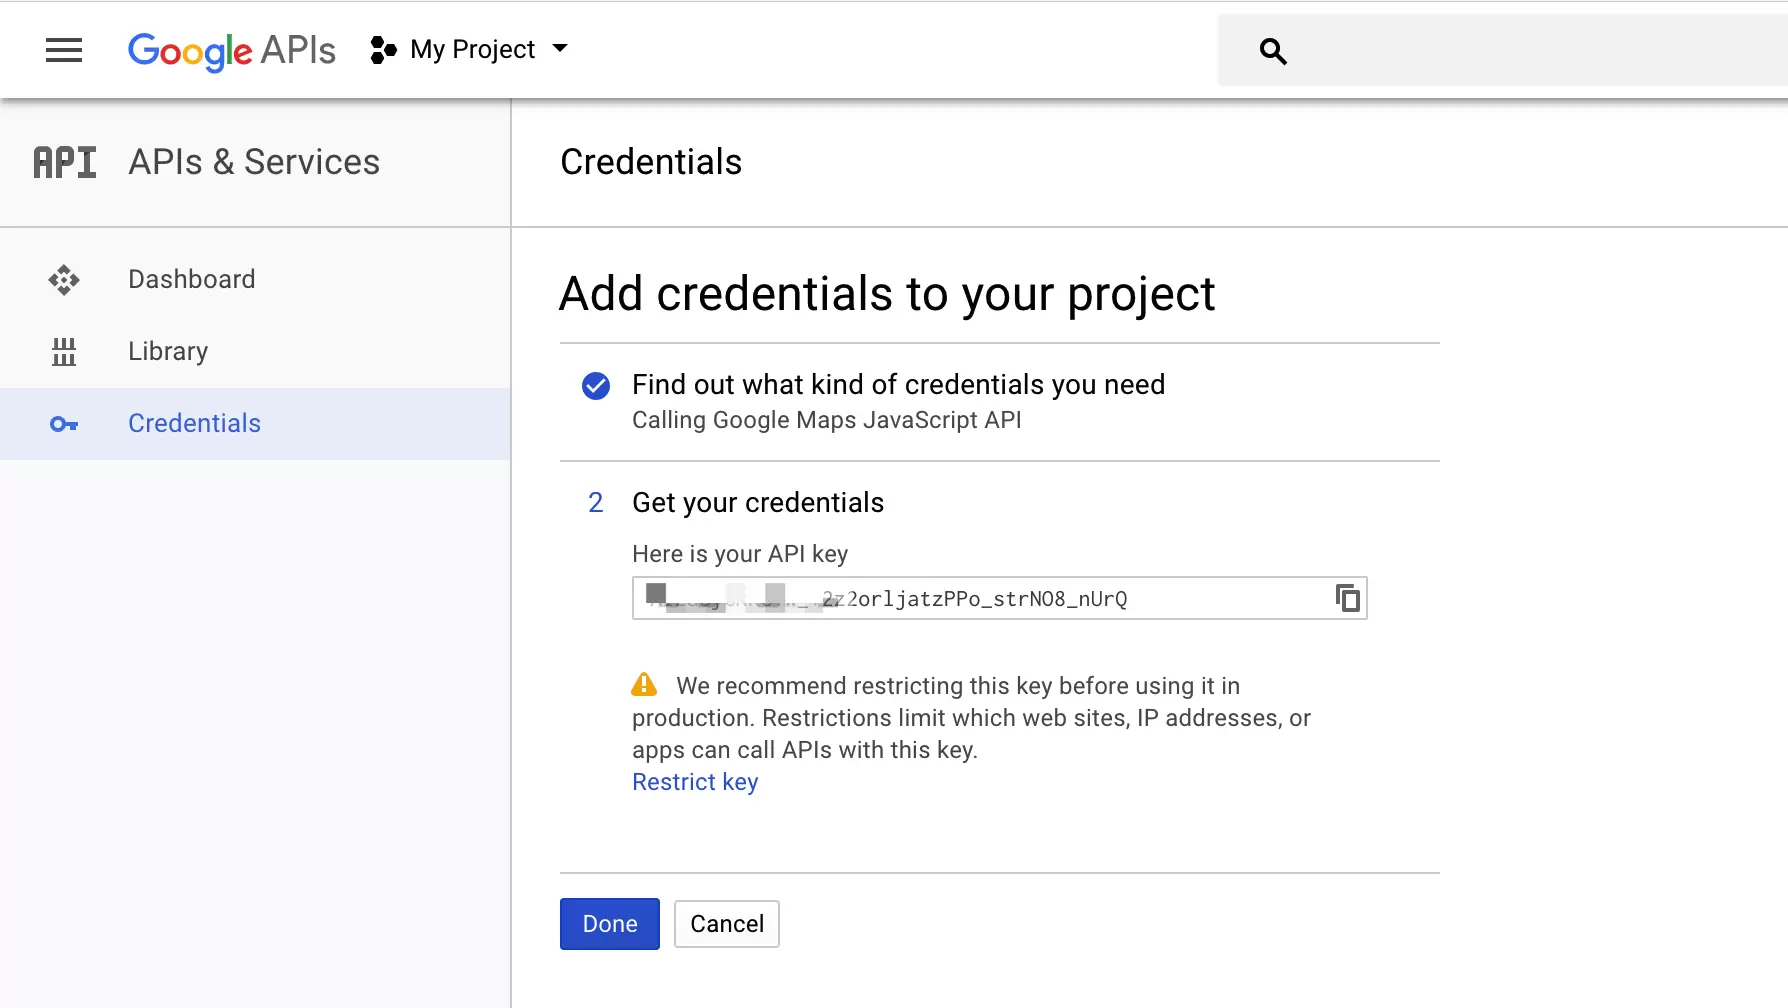
- Go to the Credentials tab again, click the Create Credentials link, and choose API key from the dropdown.
- A dialog box will appear displaying your generated API key. Click Close.
- The new API key will be listed on the Credentials page under API keys. Place your Map API key in the project and save it.
- Client ID: Enter your Client ID in the respective TextField on the Settings page.
- Client Secret: Enter your Client Secret key in the respective TextField on the Settings page.
- Map API Key: Enter your Map API key in the respective TextField on the Settings page.
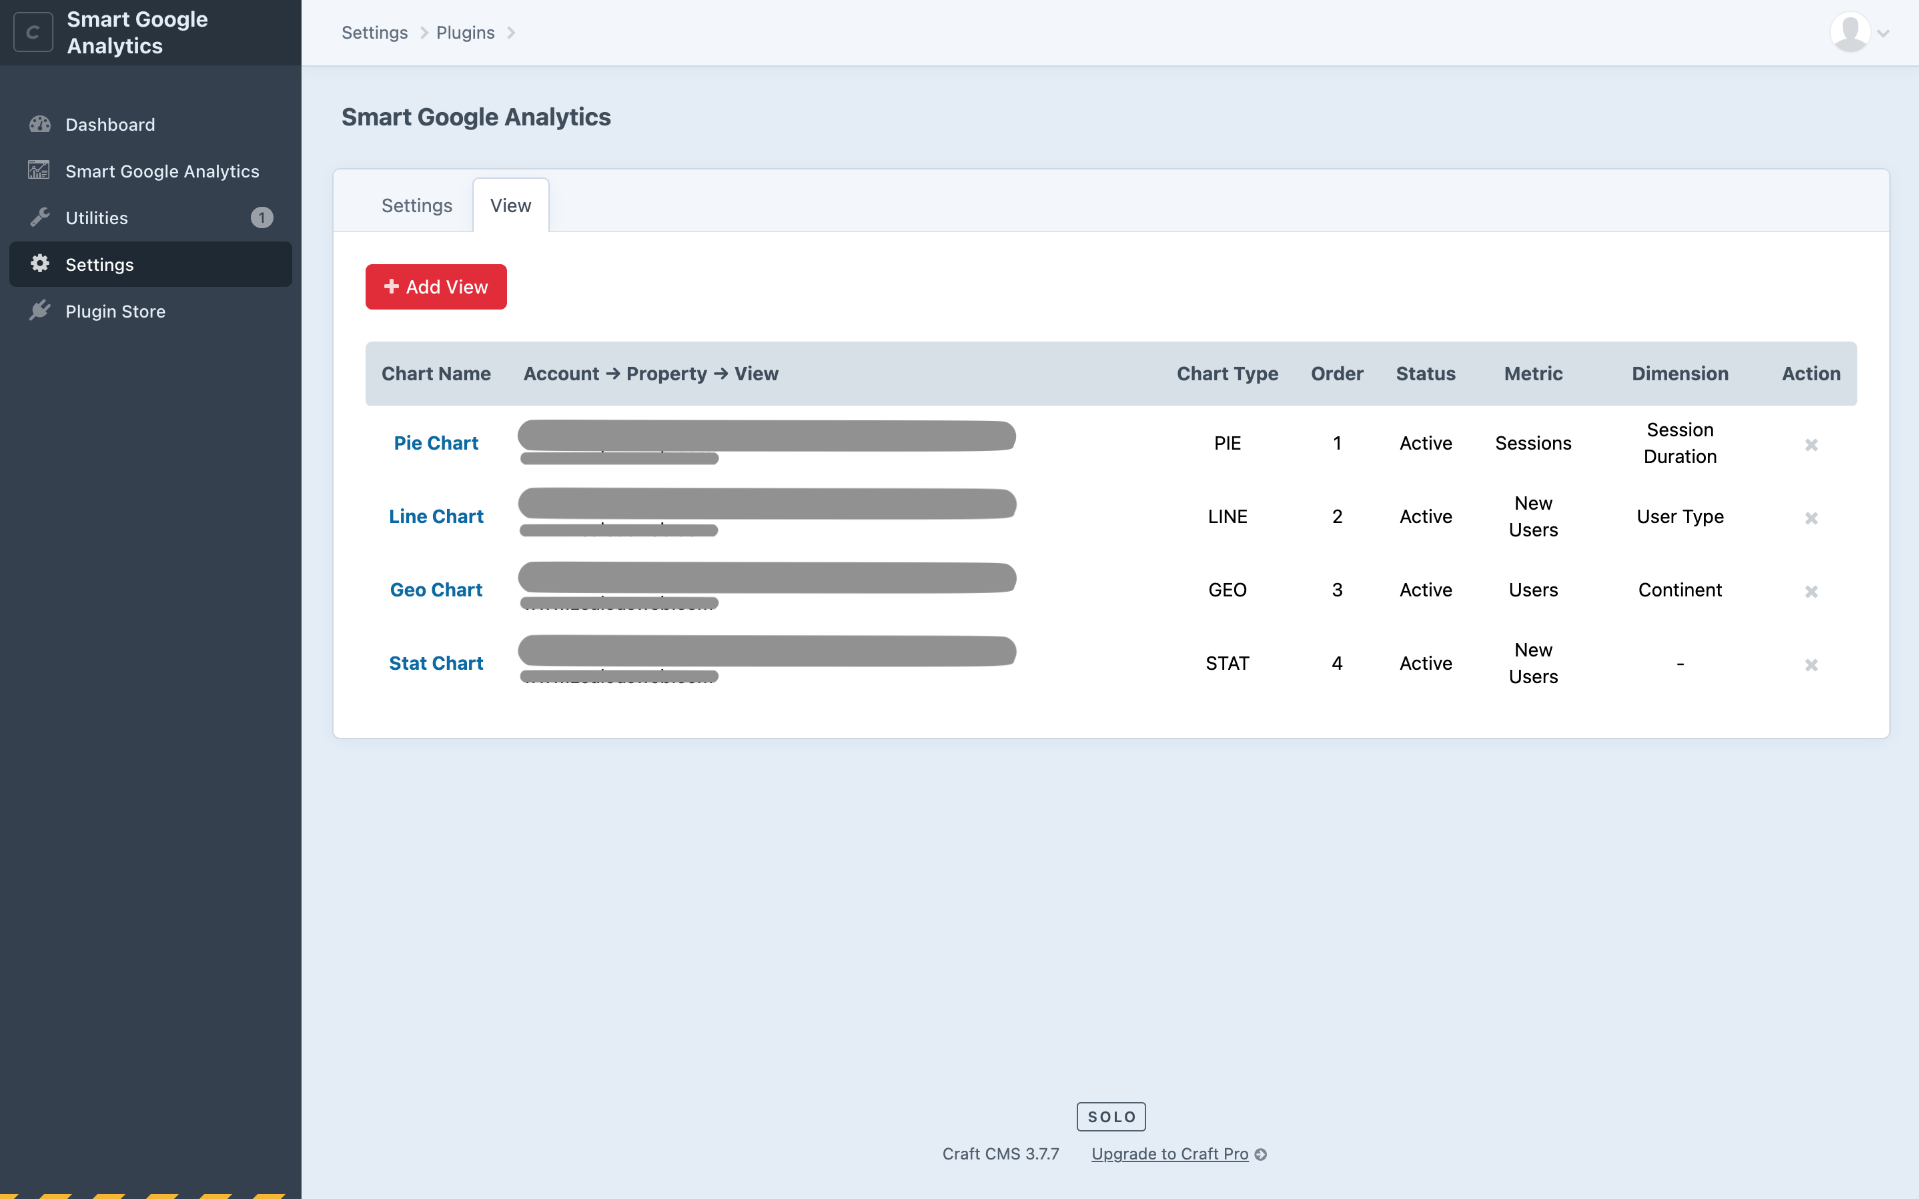
- Create a view by selecting your analytics profile, chart name, chart type, order, status, metrics, and dimensions according to your requirements.
- The dimension field is managed according to various chart types. For example, when using a STAT chart, its data is displayed using metrics only; there is no need for dimension selection.
- The order field needs to be unique for all accounts, as this determines the order of the graph displayed on the dashboard.
- The status field determines whether the view is displayed on the dashboard (Active or Inactive).
- You can edit any view later.
- On the list page, you can sort data for particular fields.
- You can delete a view on the list page.
Step 2: Activate the Google Analytics APIs
Step 3: Get Your API Keys
Step 4: Get Your Map API Keys
General Settings:
To authenticate with your Google Analytics account, you need to enter the Client ID, Client Secret, and Map API Key, then click on the 'Save' button. After saving these fields, click on the connect button to connect with your Google Console Developer Account.
Usage
After adding the required information on the settings page, move on to the view tab, where you can create new views.
Add/Edit Views:
View List:
Delete View:
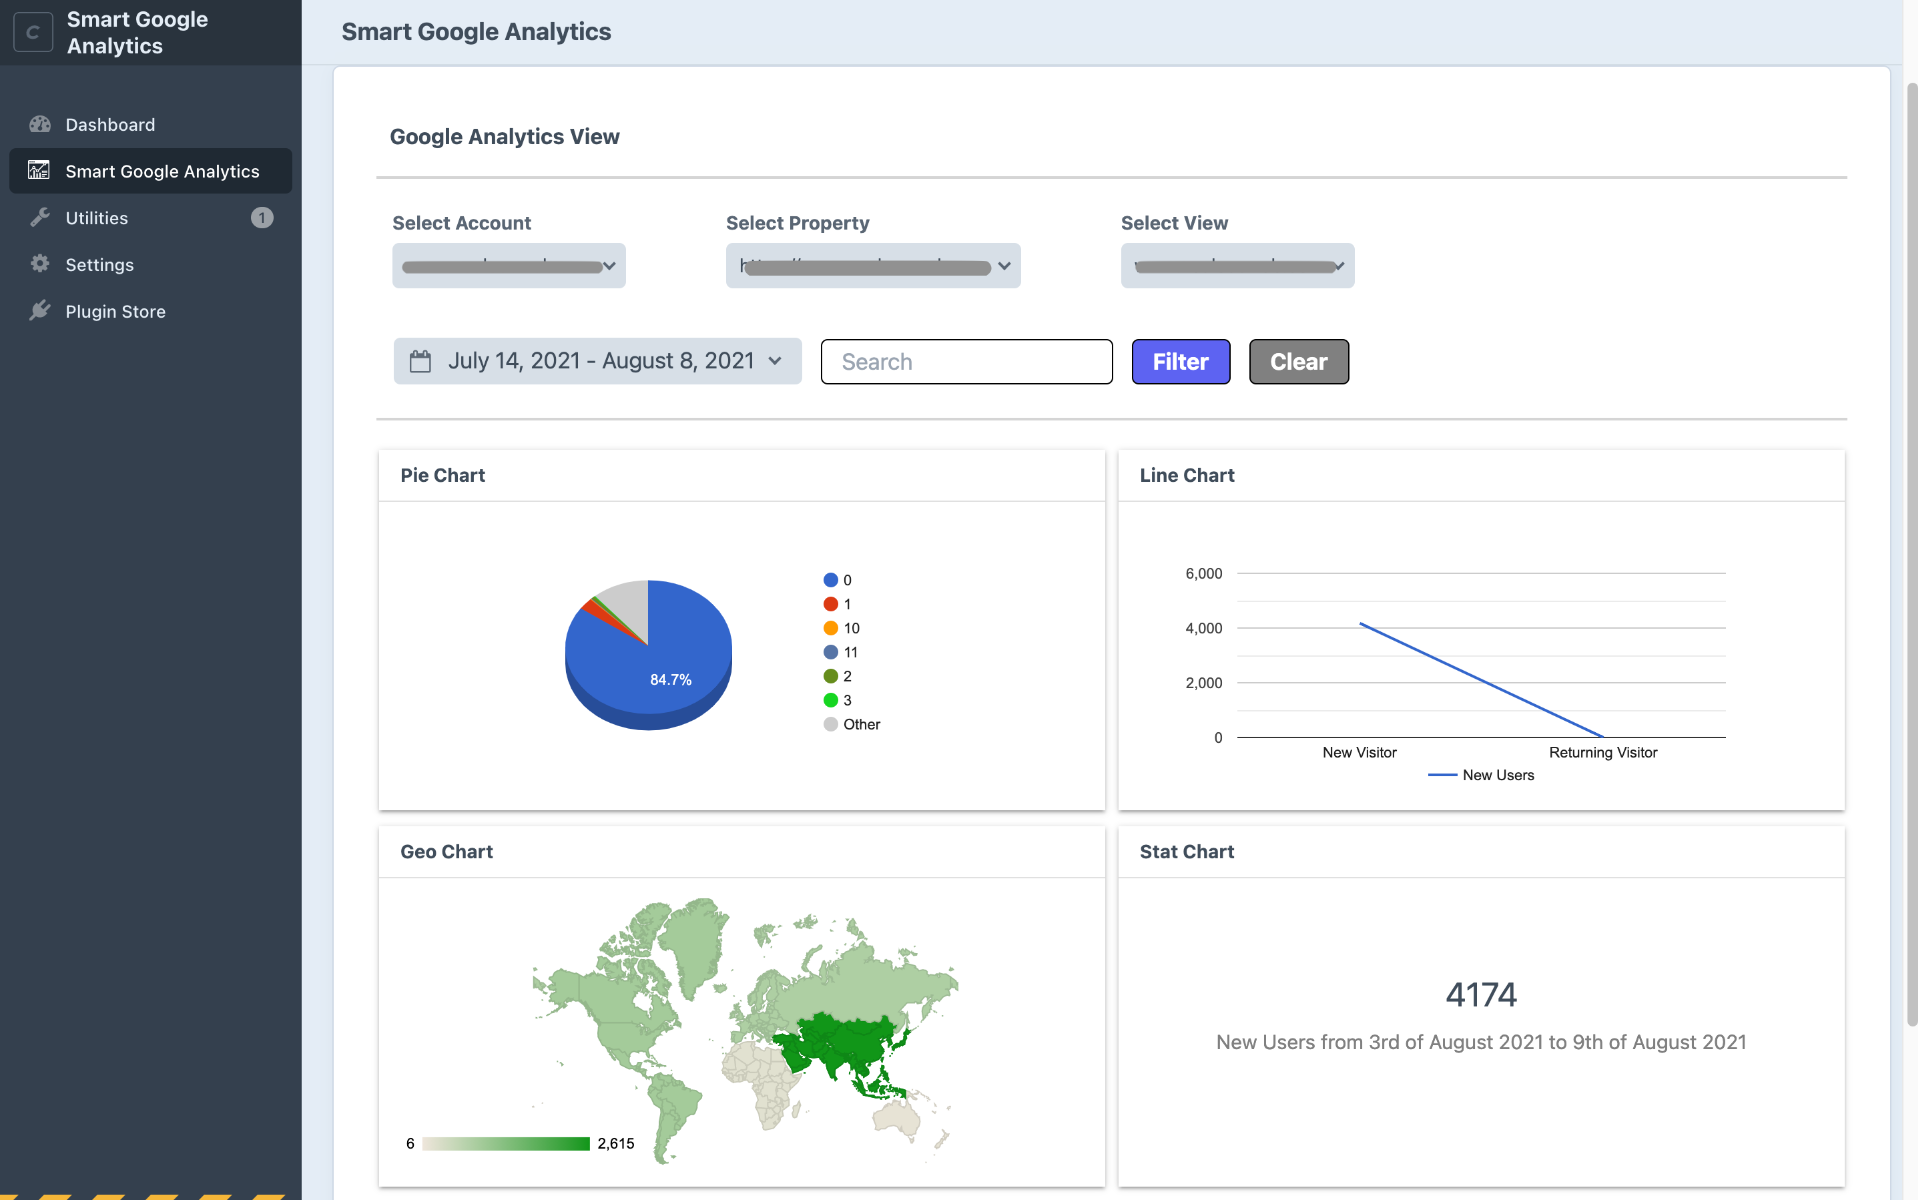
Analytics Dashboard Page:
On the Analytics Dashboard Page, you can display multiple reports with different widgets using your views. You can also filter data on the dashboard based on the desired time range, traffic source, or specific pages.
Get Support
FAQs
Can we install this extension using composer?
Yes, you can install this extension via composer by following these steps.
Change log
version 1.0.0
- Initial release