Push Notifications For Web
Overview
Description
With Web Push Notifications, you can easily send alerts to your site visitors across all major browsers, even when they’re not on your site. Just install the plugin on your HTTPS WordPress site, and your visitors will see an opt-in prompt. Once they agree, you can send them updates, promotions, or alerts anytime. The plugin also lets you automatically notify subscribers about new posts and offers useful user reports to help you communicate better. Keep your audience engaged effortlessly with Web Push Notifications!
Plugin's purpose and benefits
- Reach Visitors Across All Major Browsers - Send notifications even when users aren’t on your site.
- Quick and Easy Installation - Setup in minutes on your HTTPS WordPress site.
- Engage Visitors with Opt-In Prompts - Visitors receive a prompt to subscribe to notifications.
- Send Timely Updates - Notify subscribers about new posts, promotions, or alerts anytime.
- Automate Notifications - Automatically send updates with new content.
- Access Valuable User Reports - View detailed subscriber and browser information.
- Supports Major Browsers - Works with Chrome, Firefox, and Microsoft Edge on desktop and Android.
- HTTPS Sites - Compatible with secure HTTPS websites.
Get Started
Quick setup instructions


How To Use & Features
Click on the menu item labeled “Push Notification” or a similar configuration link that appears as a separate menu item in the admin panel.
Push Notification
For Setup
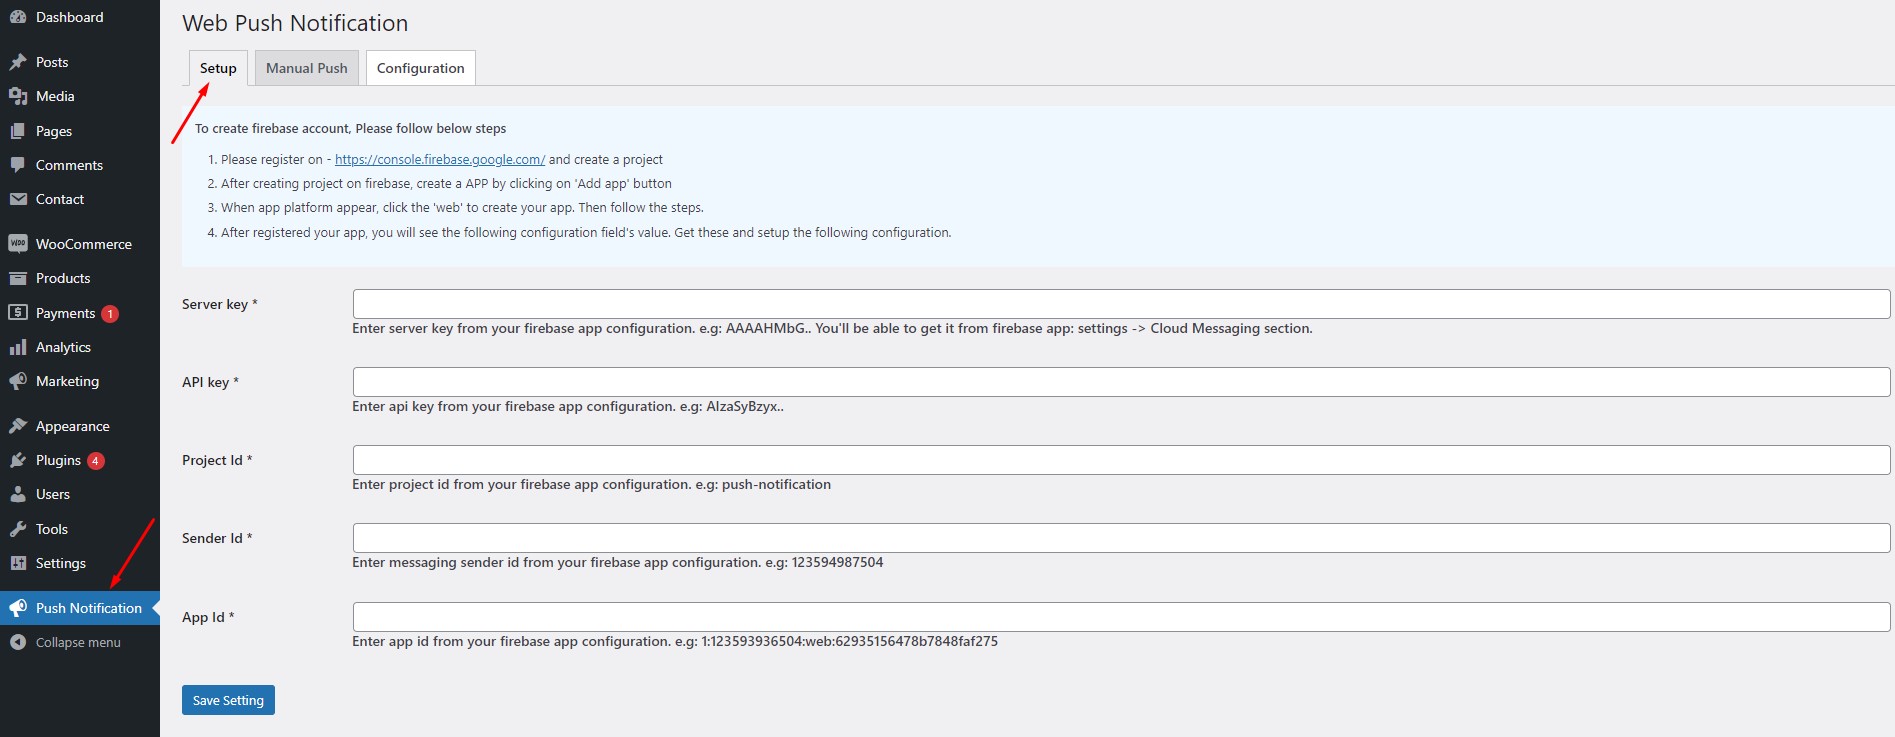
- Server Key - A key from your push notification service to authenticate requests.
- API Key - An API key from the push notification service for access.
- Project ID - An identifier for your push notification project.
- Sender ID - A unique identifier for the sender of the push notifications.
- App ID - An identifier for your application in the push notification service.
For Manual Push
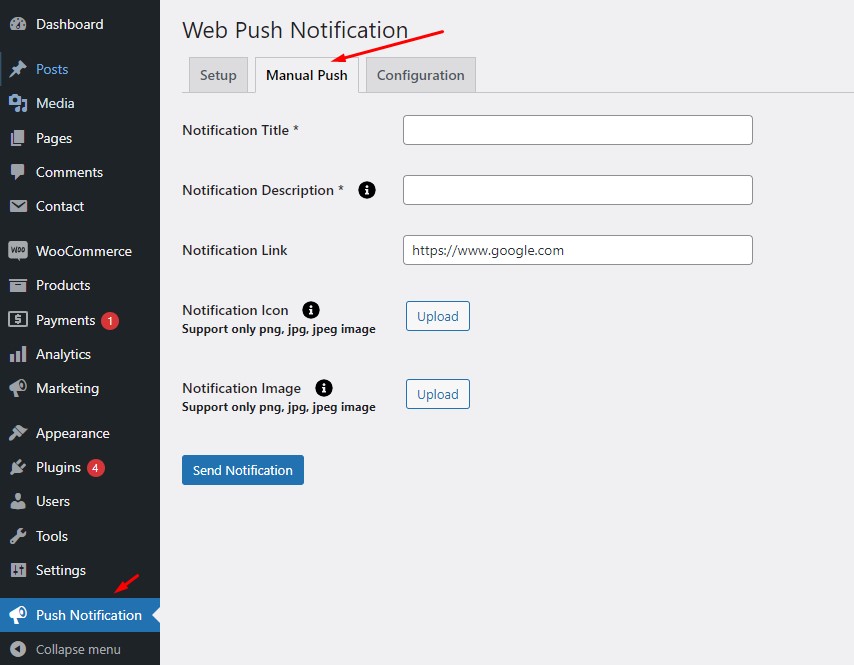
- Notification Title - Set the title of your push notification.
- Notification Description - Add a brief description or message for the notification.
- Notification Link - Include a URL that users will be directed to when they click the notification.
- Notification Icon - Choose an icon to display with the notification.
- Notification Image - Add an image to enhance the notification's appearance.
In this guide, we have detailed the process of integrating third-party services.
Firebase Authentication:
Here are the steps to create a Firebase account:
Step 1: Create a Google Account
If you don't already have a Google account, you'll need to create one. Firebase uses Google accounts for authentication.
- Go to Google Account Creation.
- Follow the instructions to create your account.
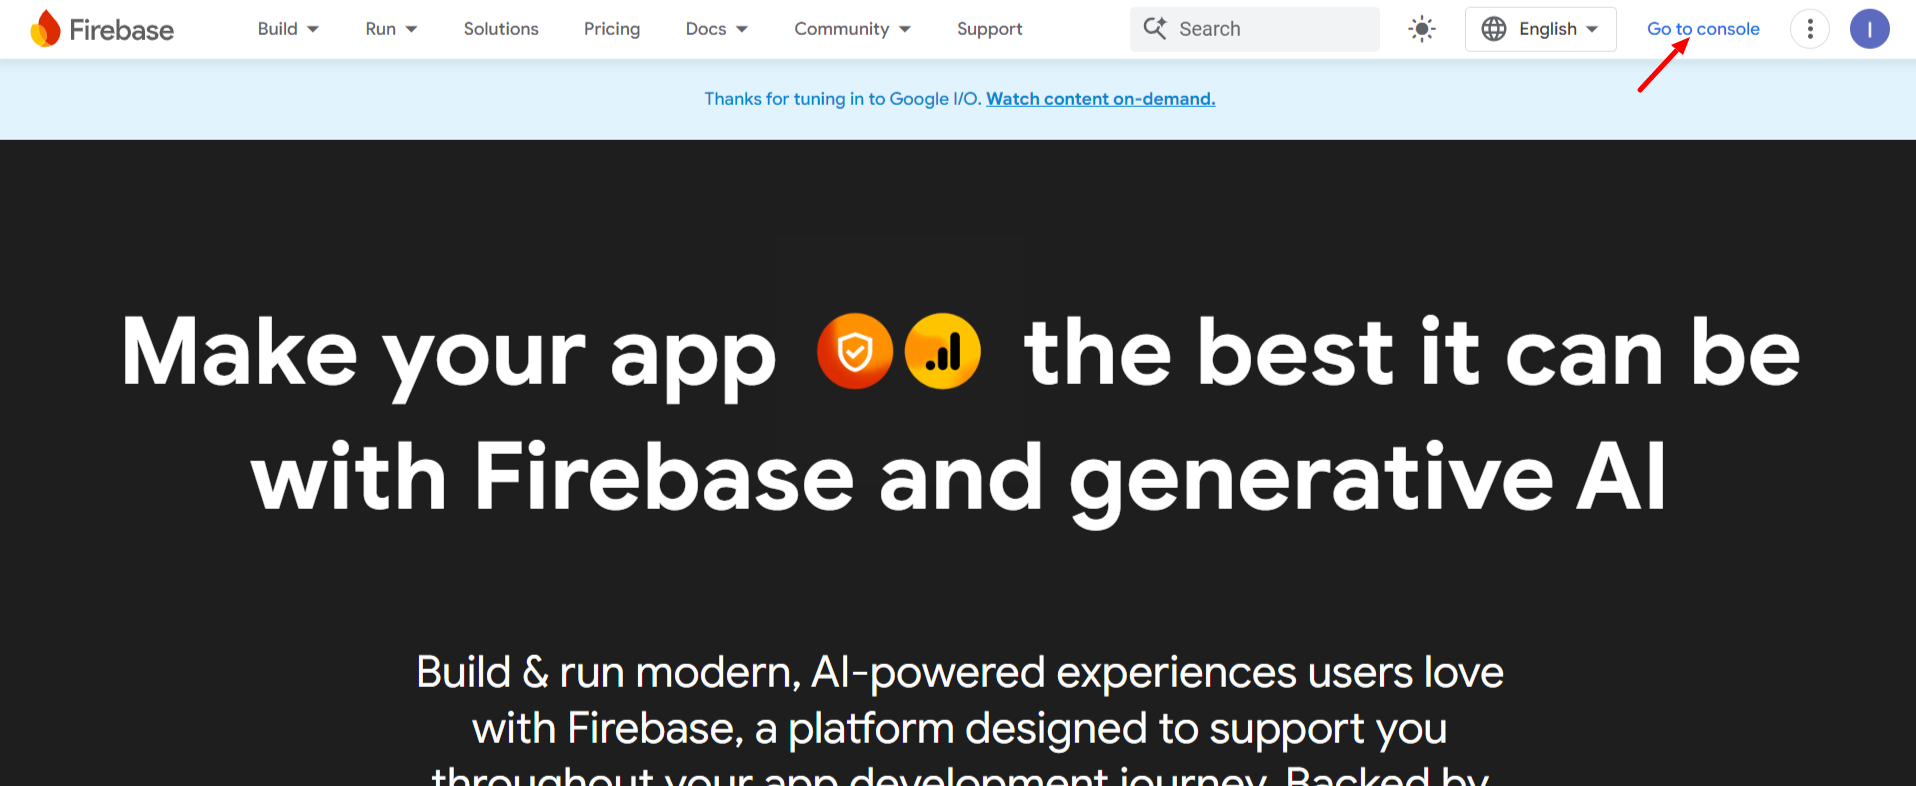
Step 2: Sign In to Firebase
- Go to the Firebase website.
- Click on the Get Started or Go to console button.
- Sign in with your Google account.
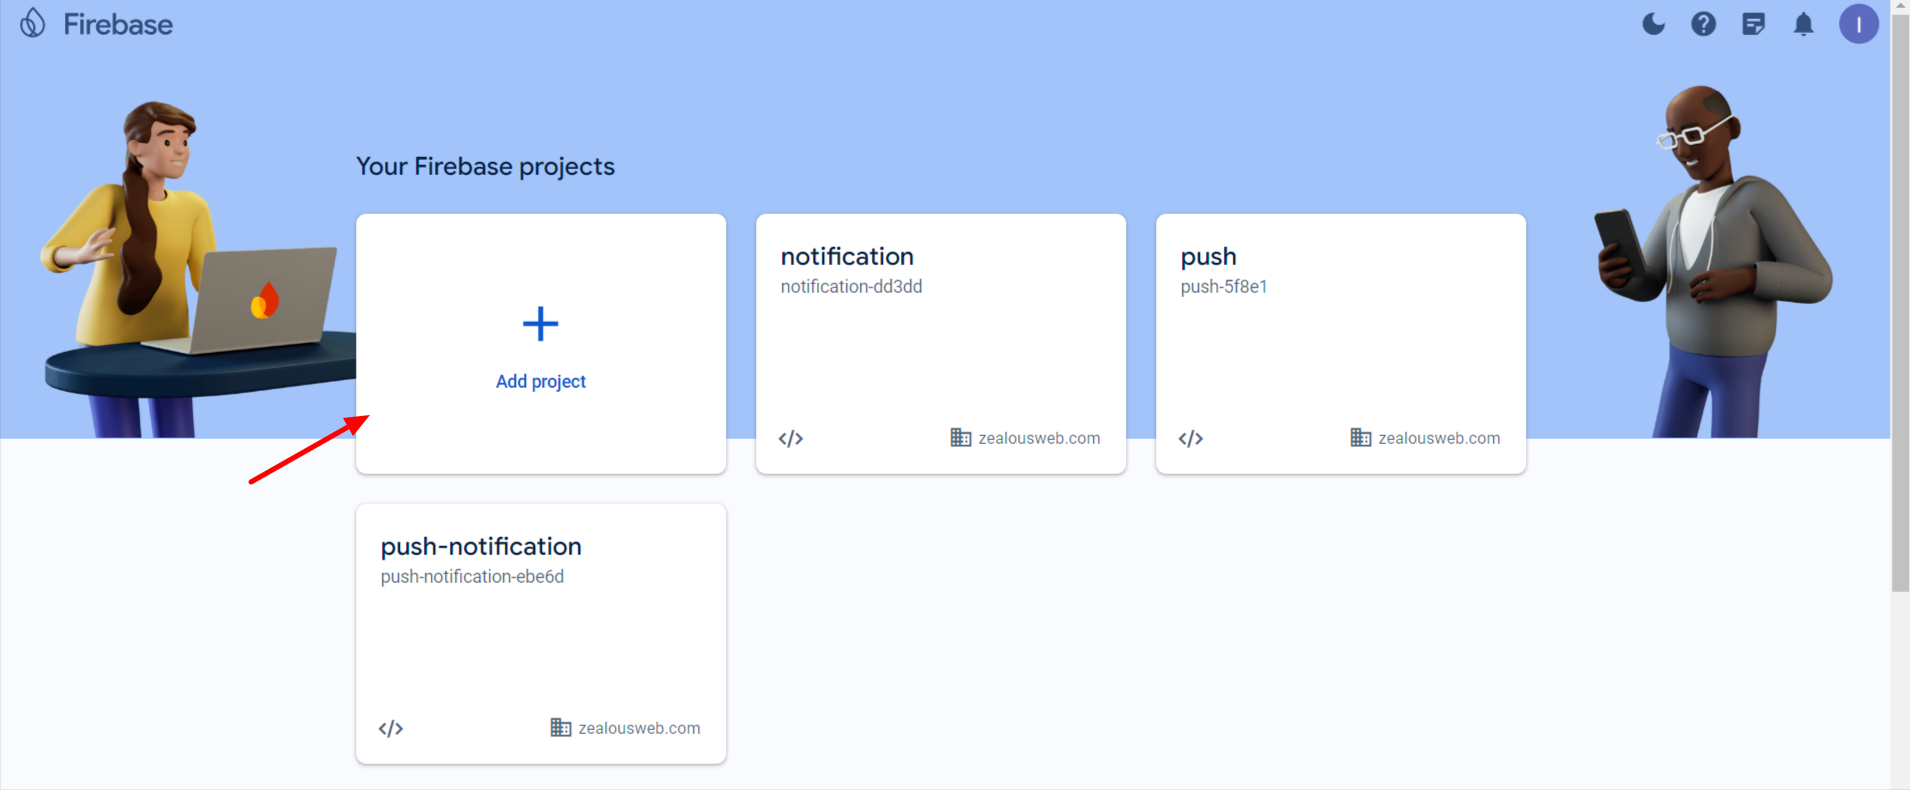
Step 3: Create a New Firebase Project
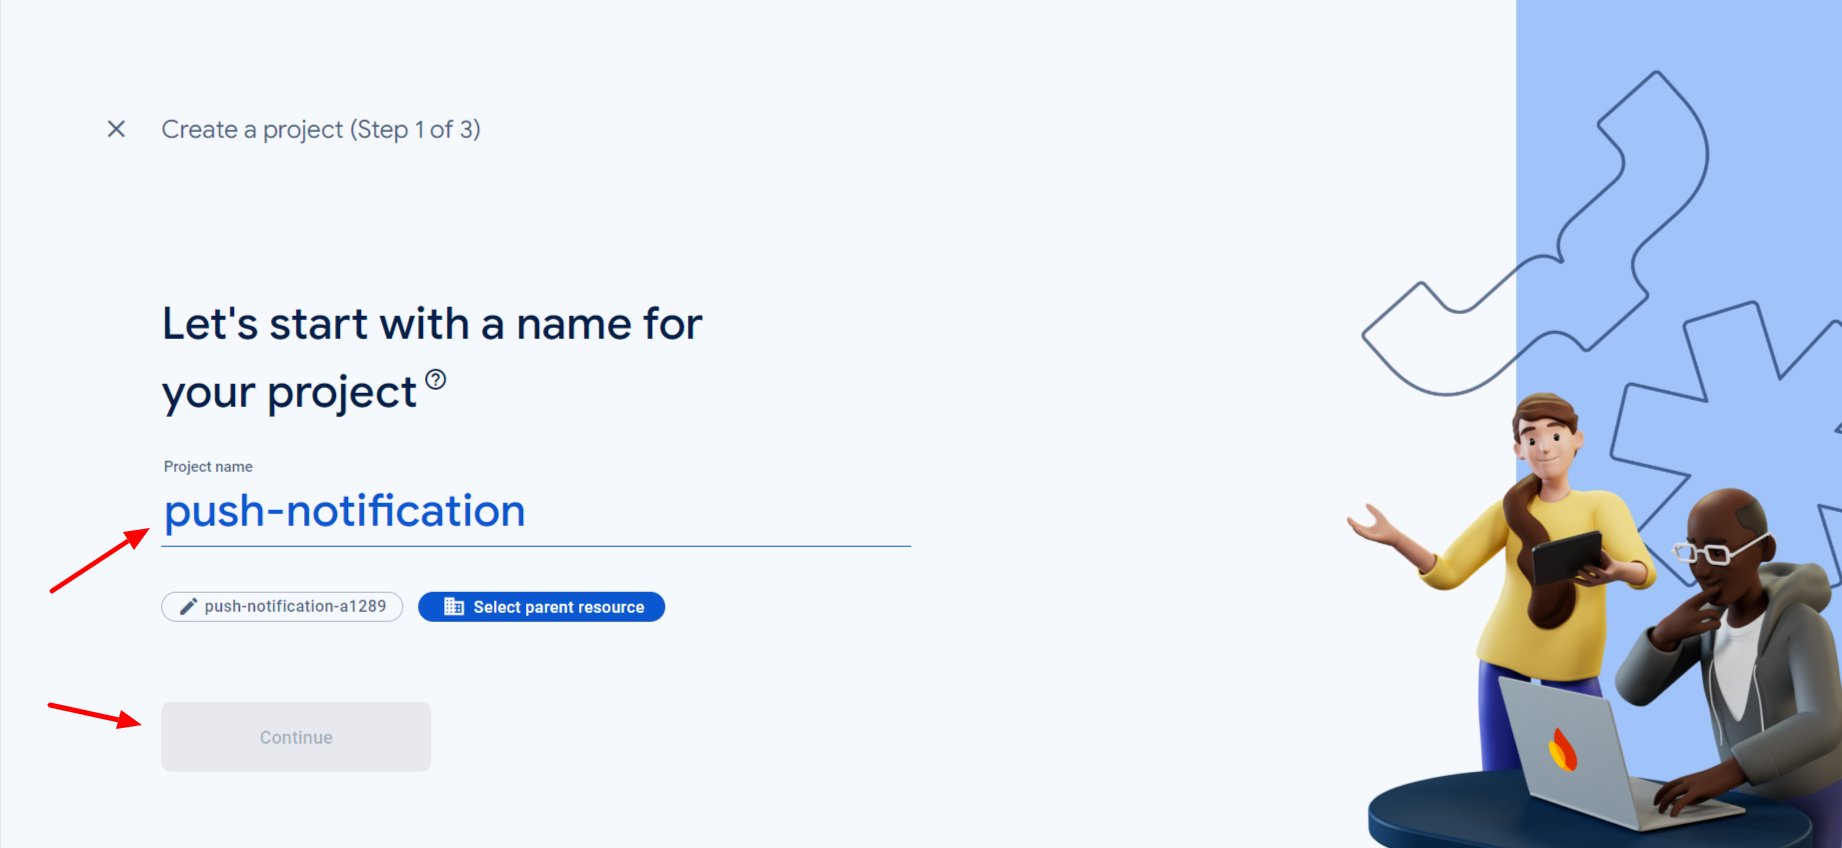
- In the Firebase console, click on Add project.
- Enter a project name and click Continue.
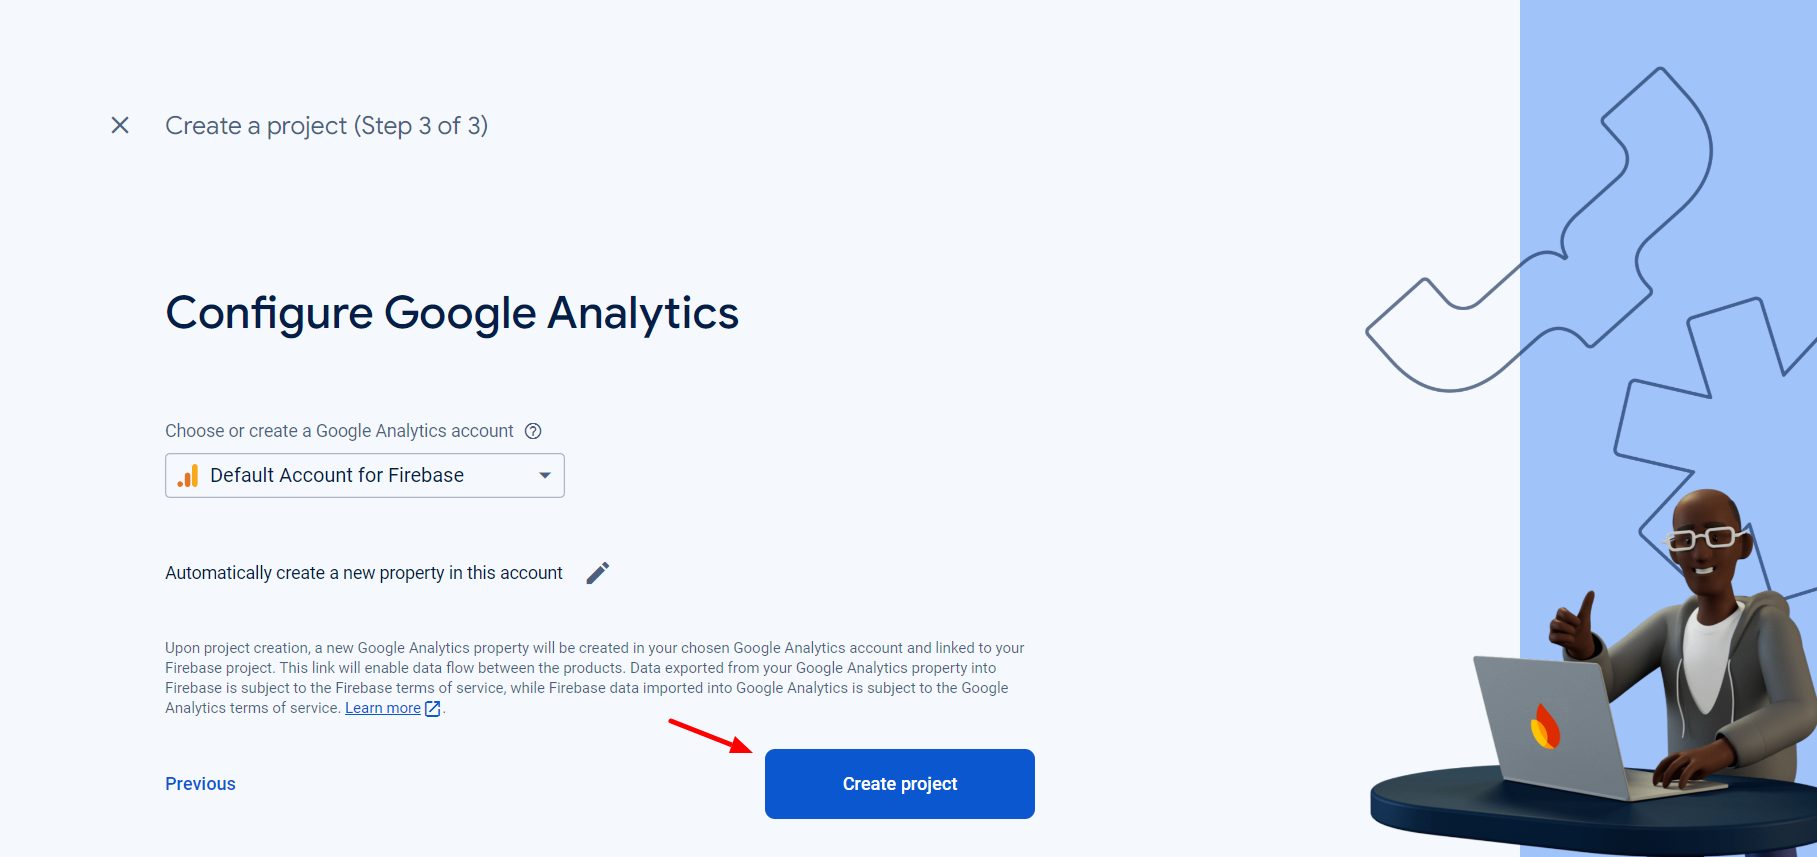
- (Optional) Set up Google Analytics for your project. If you choose to enable it, select or create an Analytics account and configure your Analytics settings. Click Create project.
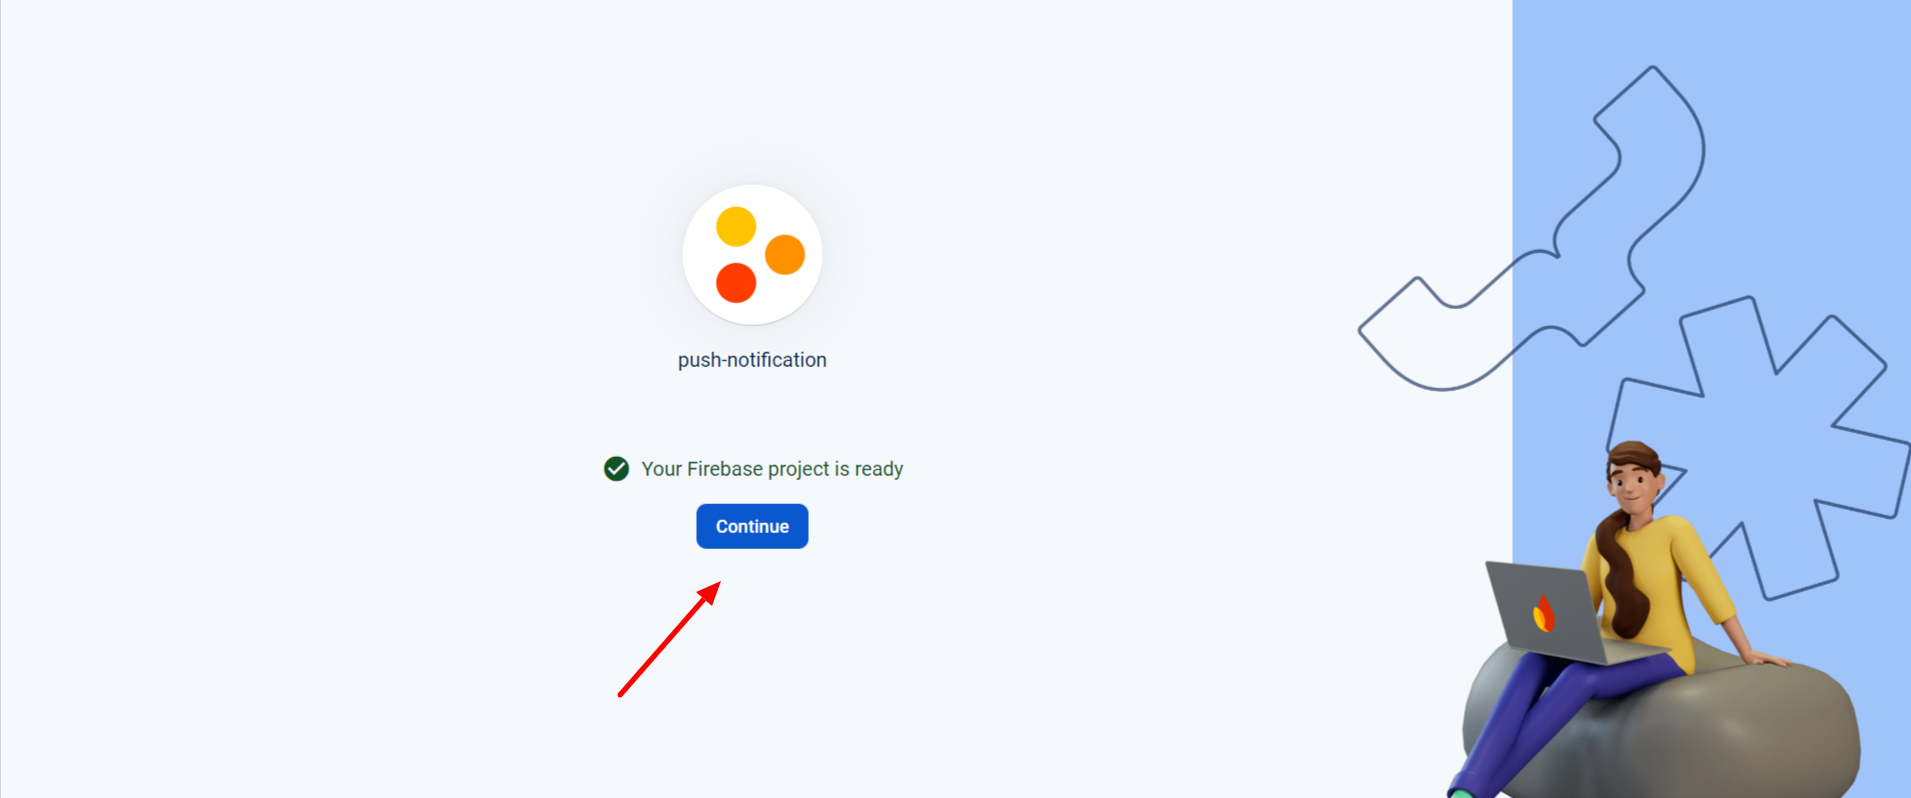
- Wait for the project setup to complete and click Continue.
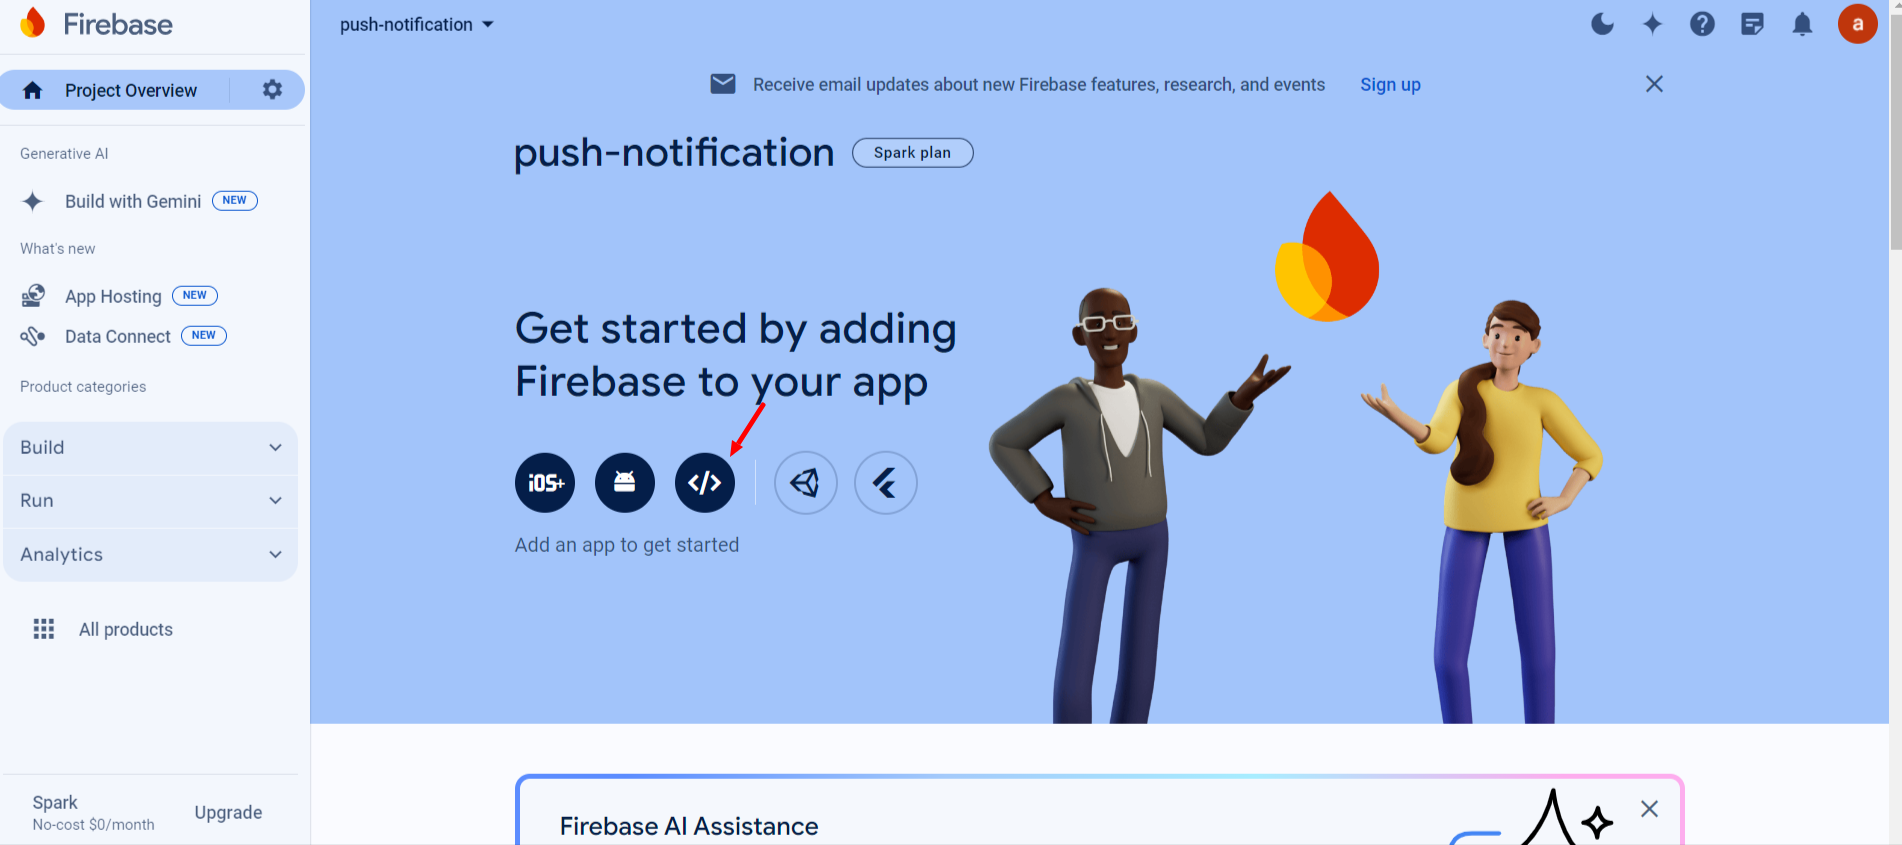
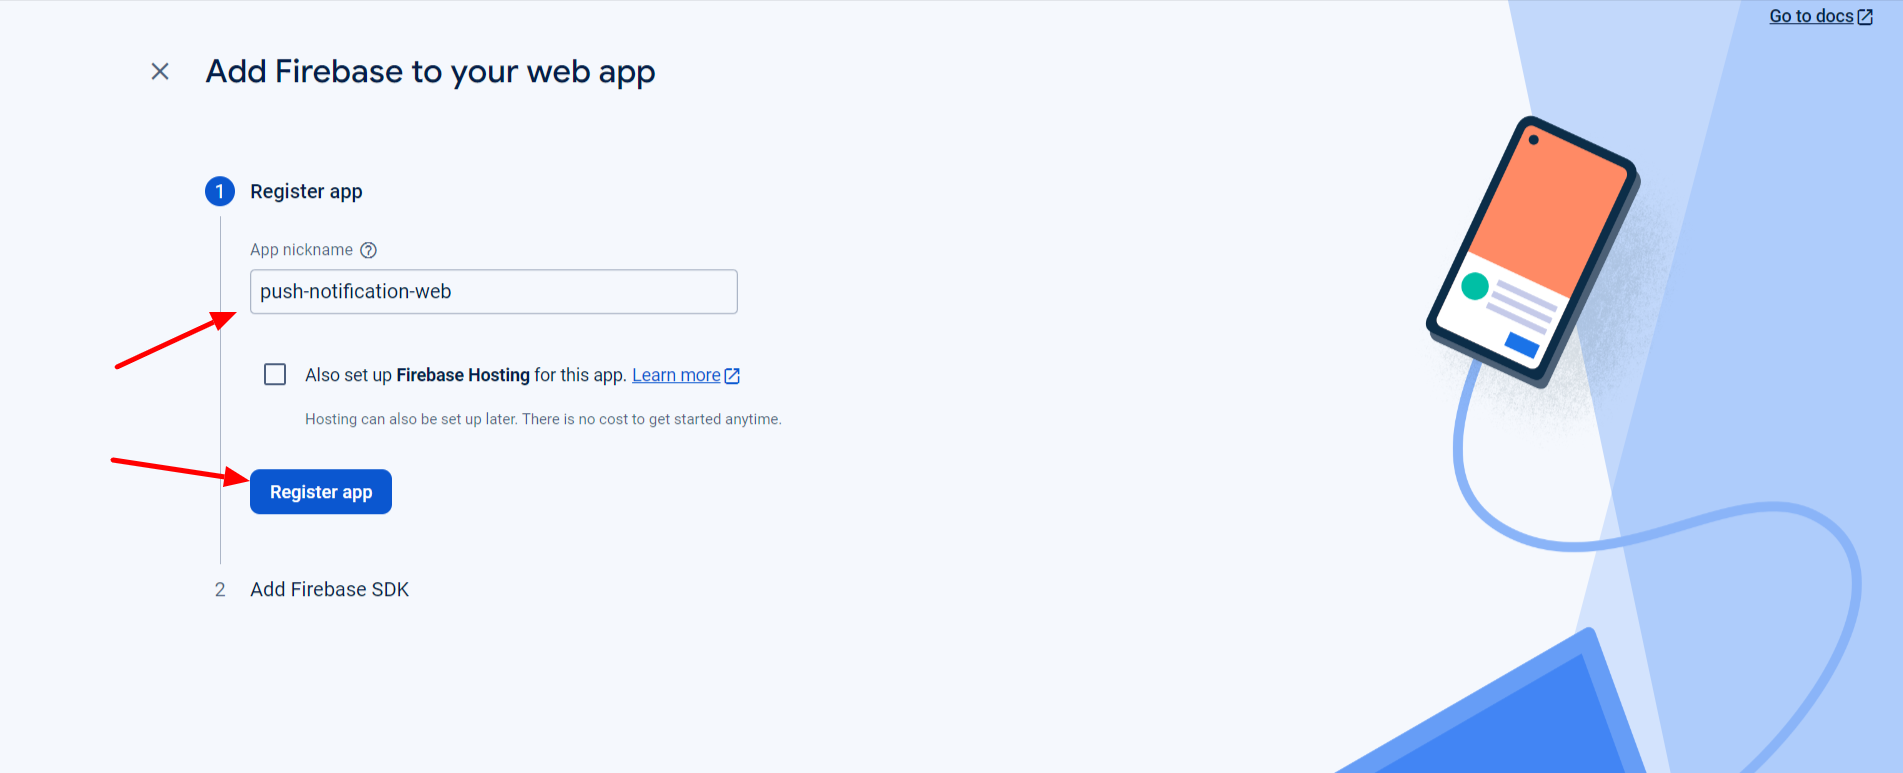
Step 4: Add Firebase to Your App
- In your Firebase project, you can add Firebase to your web, iOS, or Android app by clicking on the respective platform icon (iOS, Android, or Web).
- Follow the instructions provided to integrate Firebase with your app. This usually involves downloading a configuration file (like google-services.json for Android or GoogleService-Info.plist for iOS) and adding it to your app.
Step 5: Configure Firebase Services
- Navigate to the Build section in the Firebase console to configure services such as Firestore, Realtime Database, Authentication, and more.
- Set up the services according to your app’s requirements by following the provided instructions.
Step 6: Implement Firebase SDK
- Follow the Firebase documentation to implement the necessary Firebase SDKs in your app code. You can find the documentation on the Firebase website under the Docs section.
Step 7:Deploy and Monitor
- Once your app is set up with Firebase, you can deploy your application.
- Use the Firebase console to monitor the performance, manage databases, authenticate users, and analyze app usage.
If you follow these steps, you should have a fully set up Firebase project ready to use with your application. If you encounter any specific issues or need further guidance, feel free to ask!
Get Support
FAQs
Can I automate notifications for new posts?
Yes, you can configure the plugin to automatically send push notifications to your subscribers whenever you publish a new post. This helps keep your audience informed about fresh content without additional effort.
How do I set up Web Push Notifications on my WordPress site?
Setting up Web Push Notifications is quick and easy. Install the plugin on your HTTPS WordPress site, and follow the setup instructions. Within minutes, your visitors will start seeing an opt-in message to receive notifications from you. What happens after visitors opt-in? Once visitors opt-in, you can send them push notifications anytime you want. These notifications will appear on their desktop or mobile device, even if they are not currently on your site.
What happens after visitors opt-in?
Once visitors opt-in, you can send them push notifications anytime you want. These notifications will appear on their desktop or mobile device, even if they are not currently on your site.
What are Web Push Notifications?
Web Push Notifications are messages sent directly to users' browsers, even when they are not on your site. They allow you to stay connected with your audience by delivering updates, alerts, or promotional content directly to their desktops or mobile devices.
Change log
Version 1.5
- Backend Bugs Resolved.
Version 1.4
- Frontend and Backend Bugs Resolved.
Version 1.3
- Improved compatibility with WordPress VIP platform by refactoring code to adhere to VIP coding standards.
Version 1.2
- Backend side issue fixed.
Version 1.0
- Initial release of the plugin