User Registration Using Contact Form 7
Overview
Description
The "User Registration Using Contact Form 7" plugin by ZealousWeb simplifies the registration process on WordPress websites by integrating with Contact Form 7. This plugin allows users to register and log in seamlessly using customizable fields like Username and Email ID. Admins can easily manage registered users, assign roles, and redirect users after registration. The plugin is easy to install, comes with a preconfigured form, and provides flexibility to expand and customize registration forms through the WordPress dashboard.
Plugin's purpose and benefits
- View Registered Users - Easily access and view a comprehensive list of all registered users directly from your WordPress dashboard.
- Assign User Roles - Efficiently assign and manage user roles for registered users, giving you full control over user permissions and access levels.
- Customizable Registration Fields - Select and customize essential registration fields like Username and Email ID to suit your website's needs.
- Advanced Custom Field Mapping - Create personalized user profiles by adding custom fields (text and textarea) and mapping them to corresponding fields in Contact Form 7.
- Social Sign Up - Enable users to register using their social media accounts, including Facebook, for a quicker and more convenient sign-up process.
- Login URL in Email - Include the login URL in the registration confirmation email, making it easier for users to access your site.
- User Registration - Allow users to register directly through Contact Form 7, with customizable fields like Username and Email ID.
- View Registered Users - Admins can easily view a list of all registered users from the WordPress dashboard.
- User Role Assignment - Assign and manage user roles upon registration, giving admins full control over user permissions.
- Auto-Generated Password Emails - Send an email with an auto-generated password to users upon successful registration.
- Debug Mode - Utilize the debug mode option to troubleshoot and ensure the plugin functions smoothly.
- Redirect URL - Set a specific URL to redirect users to after registration, enhancing user experience.
- Multi-Language Support - The plugin supports multiple languages, making it accessible to a global audience.
Get Started
Quick setup instructions


How To Use & Features
For Settings User Registration CF7
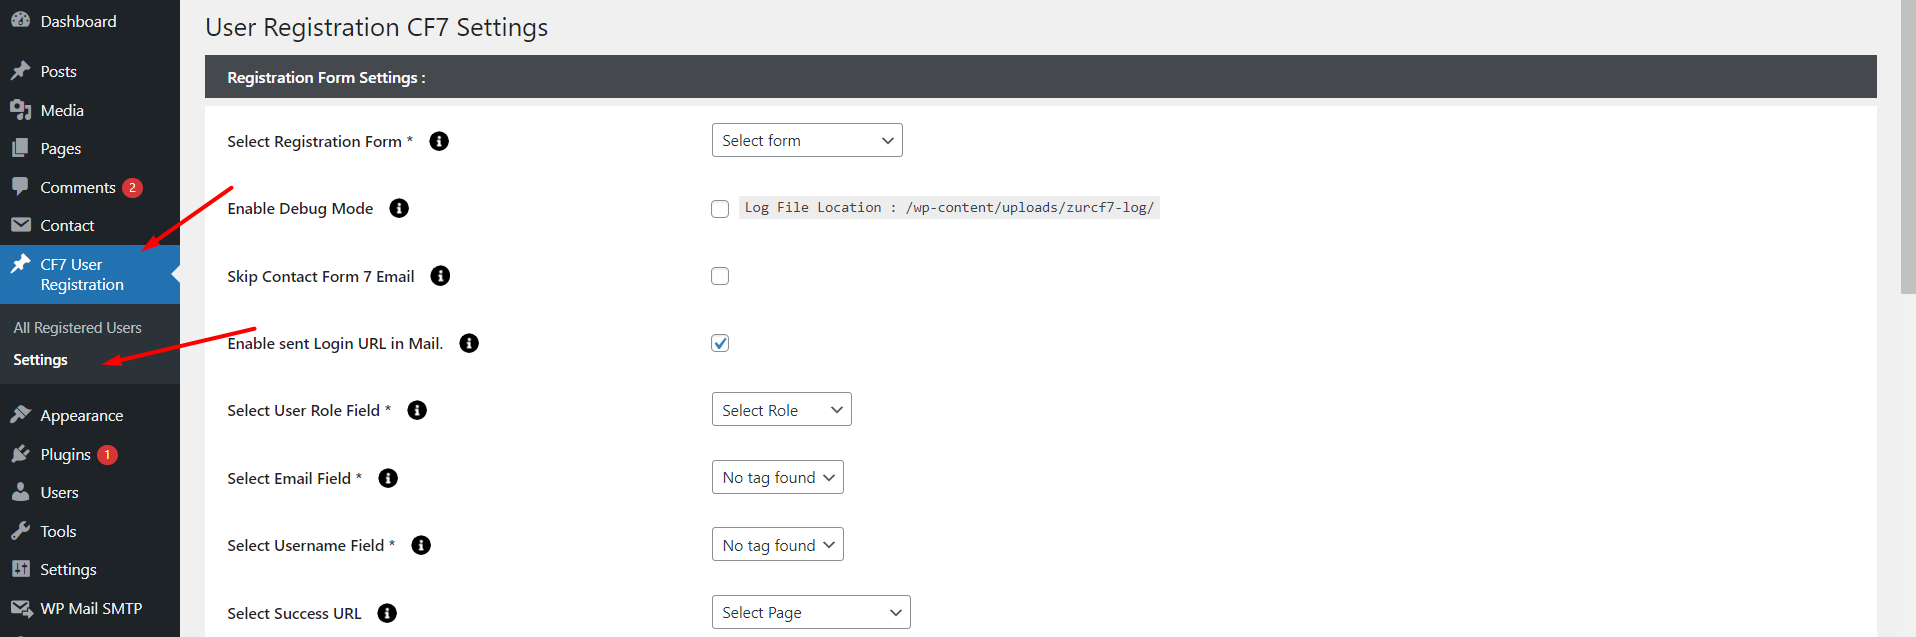
- Select Registration Form - Easily choose which Contact Form 7 form to use for user registration, allowing for greater customization and flexibility.
- Enable Debug Mode - Activate a debug mode to troubleshoot issues and ensure the registration process runs smoothly.
- Skip Contact Form 7 Email - On/Off Switch: Allow users to enable or disable email notifications for individual CF7 forms via a straightforward toggle in the form settings.
- Enable Login URL in Mail - Include the login URL in the registration confirmation email, streamlining the user experience by providing direct access to the login page.
- Select User Role Field - Customize the user registration process by selecting the appropriate User Role field, allowing for tailored role assignment during registration.
- Select Email Field - Define the Email field that should be used for registration, ensuring consistency and accuracy in user data.
- Select Username Field - Choose the specific field for the Username, offering flexibility in how users are identified on your site.
- Select Success URL - Set a custom URL to redirect users to after successful registration, enhancing the post-registration experience and guiding users to relevant content.
Advanced Custom Field Mapping
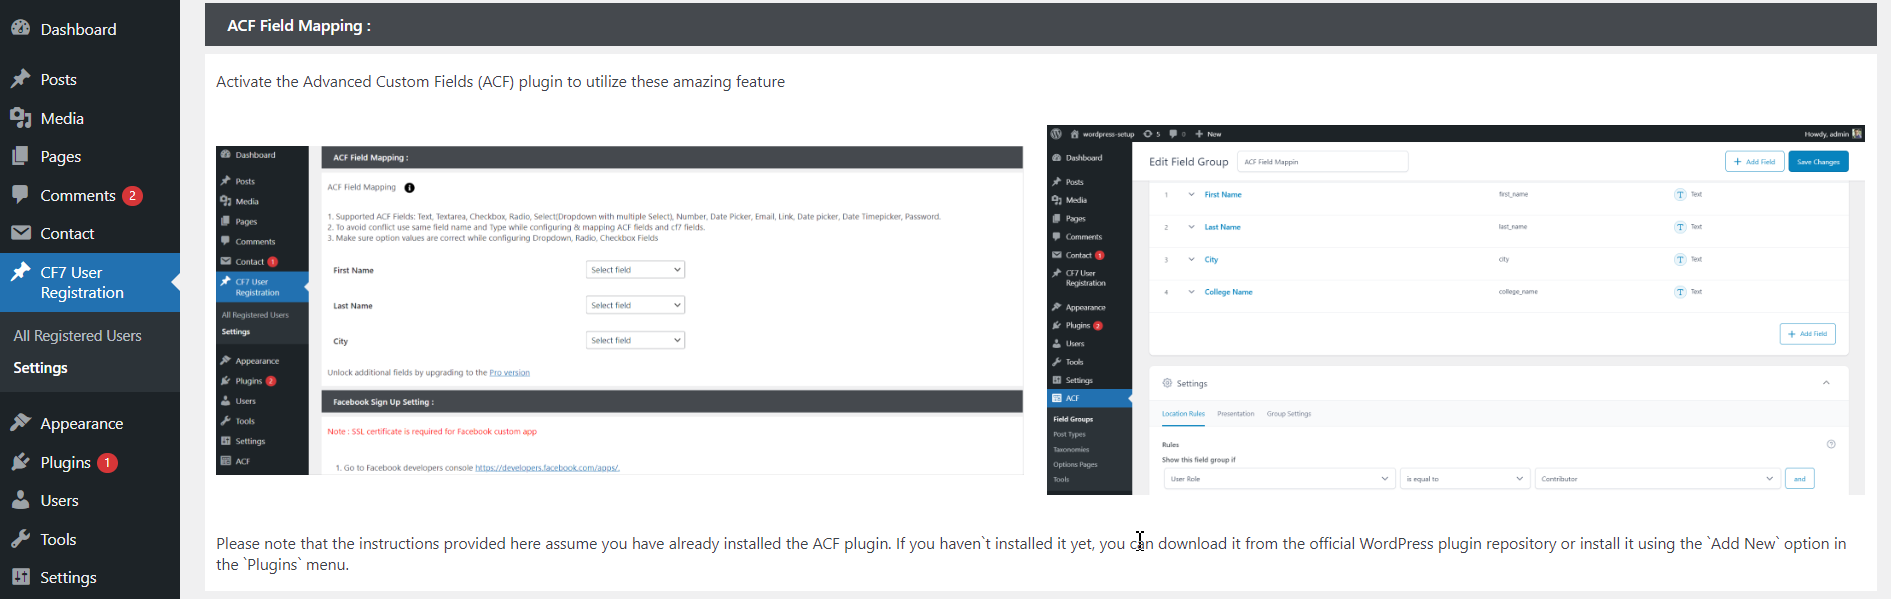
- To effectively map Advanced Custom Fields (ACF) to Contact Form 7 (CF7) fields, you'll need to have both the ACF plugin and CF7 plugin installed and activated on your WordPress site.
- To Map ACF fields to Contact Form 7 (CF7) fields, follow these simple guidelines:
- Supported ACF Fields

You can map these types of ACF fields to CF7 fields:
- Text: Single line of text.
- Textarea: Multi-line text.
- Checkbox: Multiple selectable options.
- Radio: Single selectable option.
- Select (Dropdown with multiple select): A list of options where you can select multiple choices.
- Number: Numeric input.
- Date Picker: A field to pick a date.
- Email: A field for email addresses.
- Link: A field for web addresses.
- Date Timepicker: A field to pick both date and time.
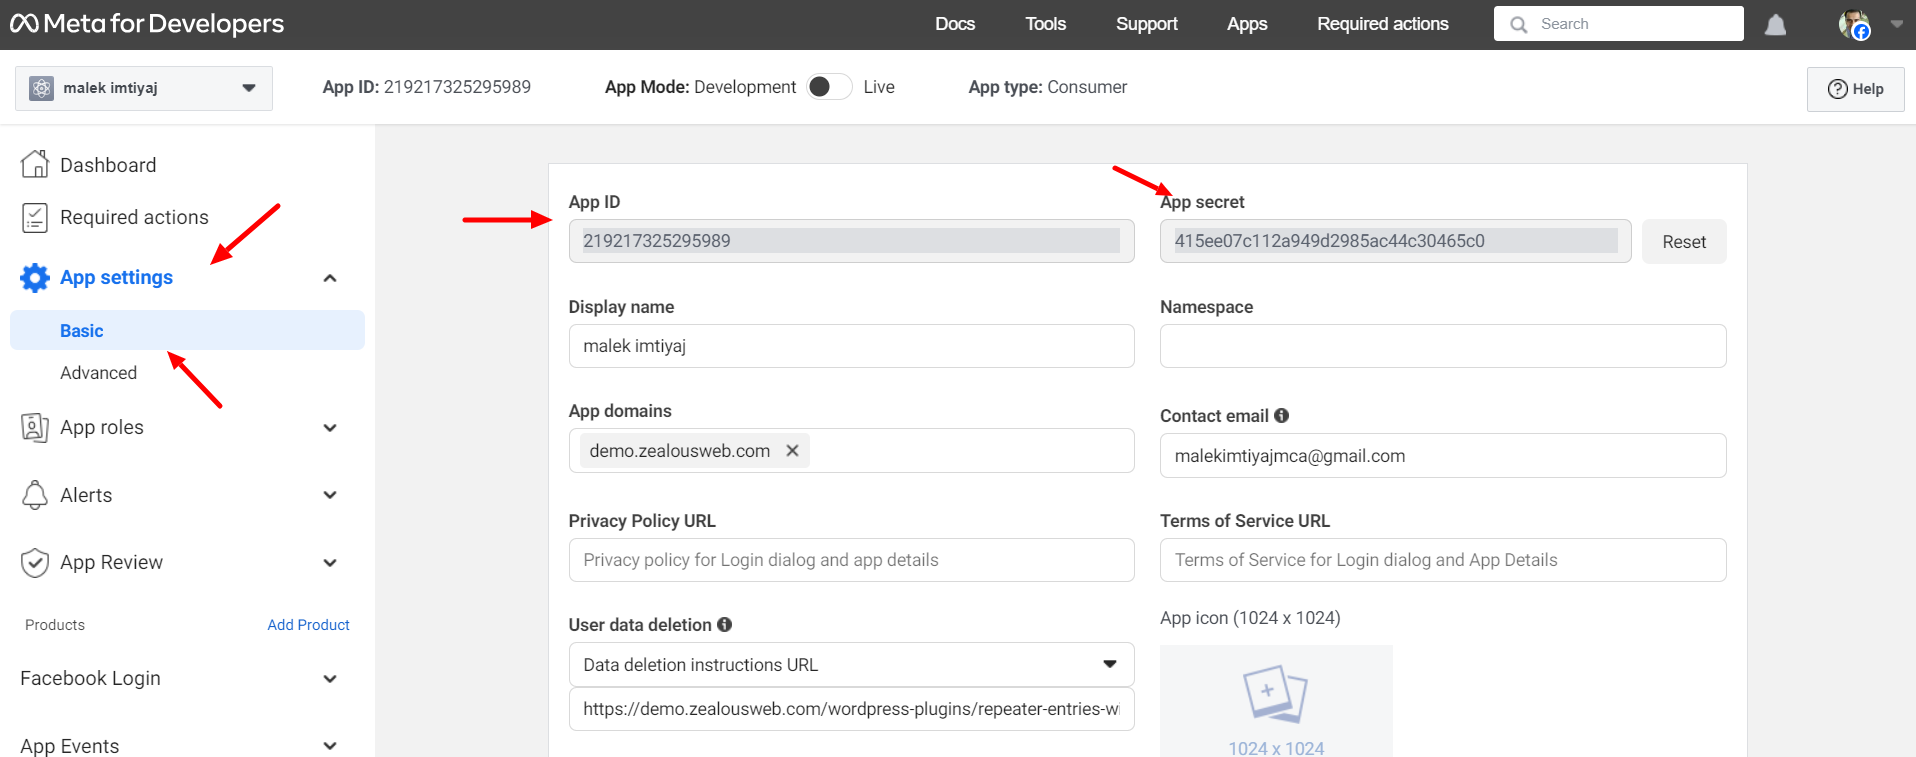
- App ID - Obtain from the Facebook Developers portal when you register your application.
- App Secret - Similar to Google, this is a secret code provided by Facebook when you create your app.
- Title - Displays the title of the registration form used by the user for registration.
- Username - Shows the username chosen by the user during the registration process.
- User Role - Indicates the role assigned to the user upon successful registration.
- Date - Records the date and time when the registration transaction occurred.
- Go to Facebook.
- Follow the instructions to sign up for an account.
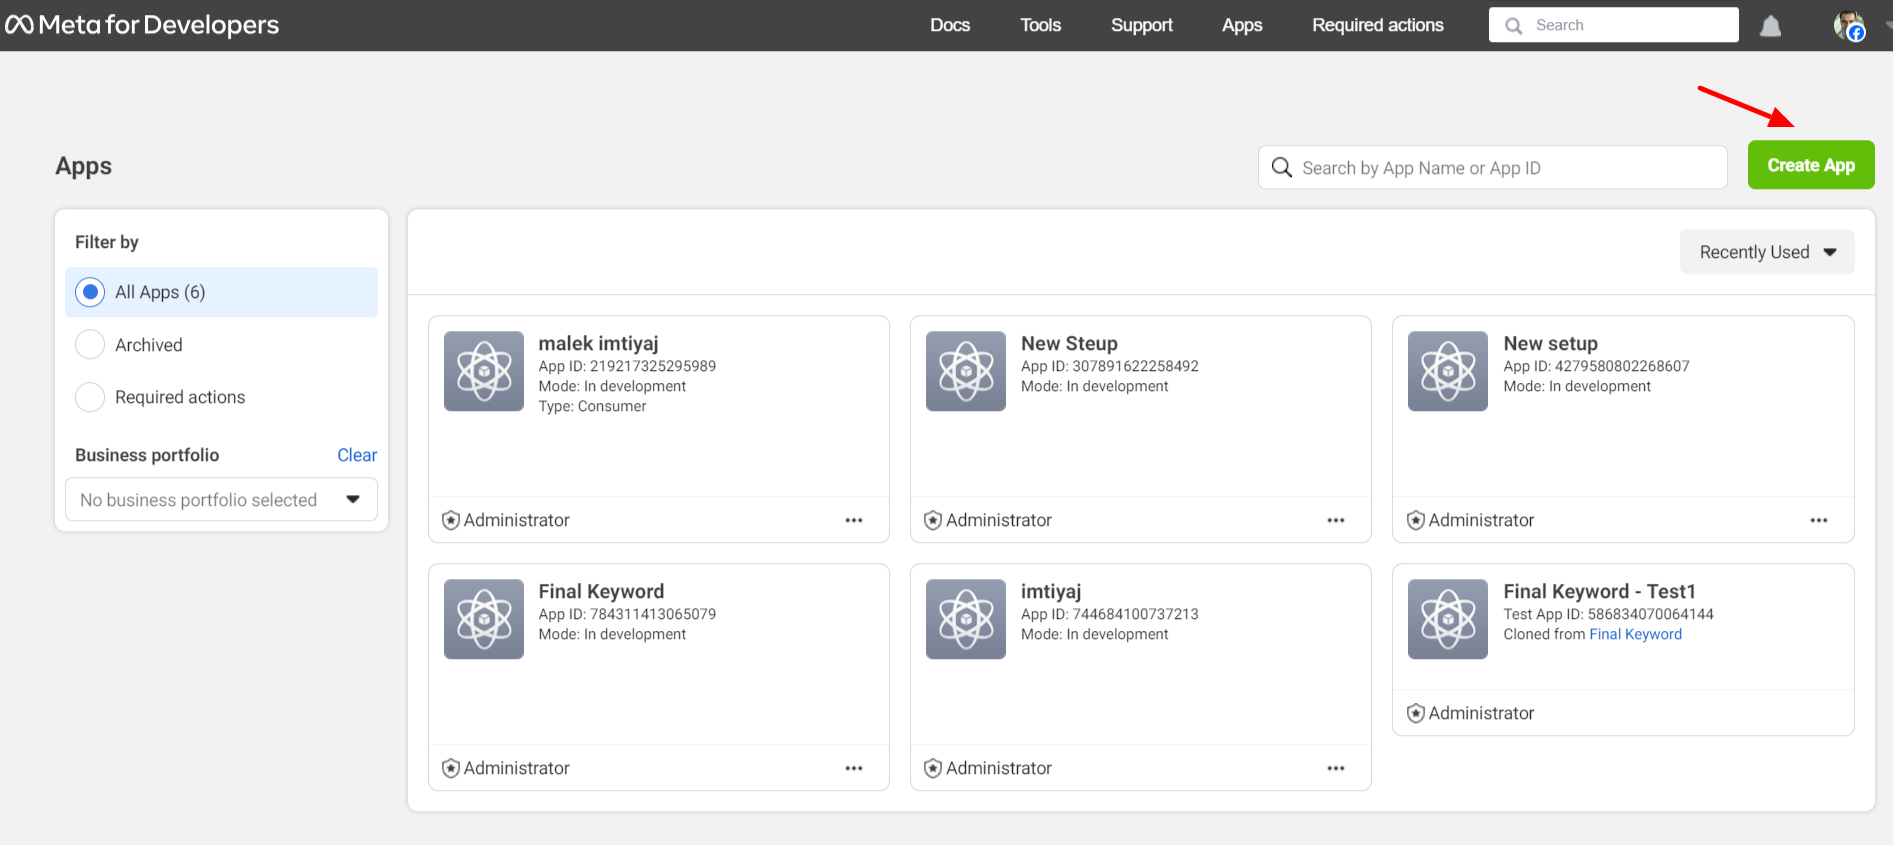
- Go to the Facebook Developers Console.
- Sign in with your Facebook account.
- Click on Create a New App or Create App.
- Select Consumer on the Select App type pop-up.
- Click on Continue.
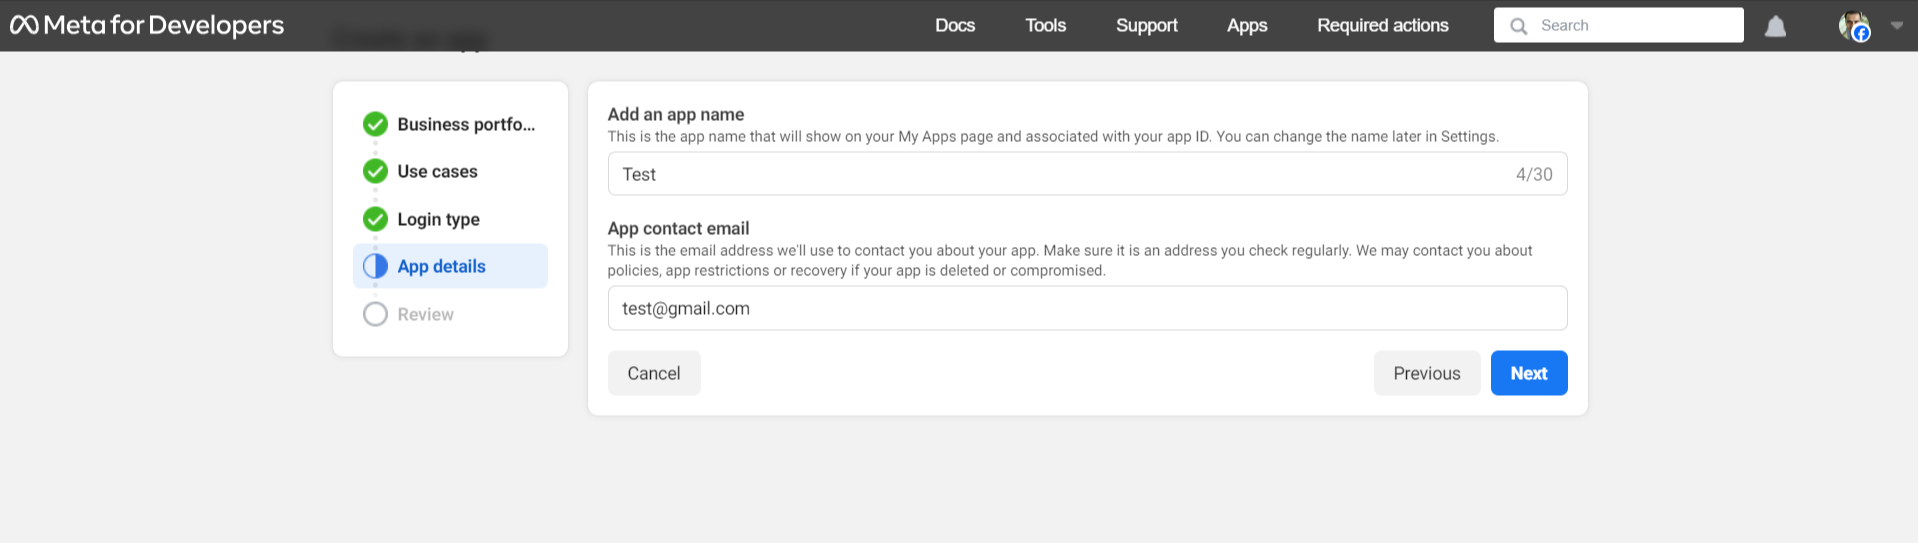
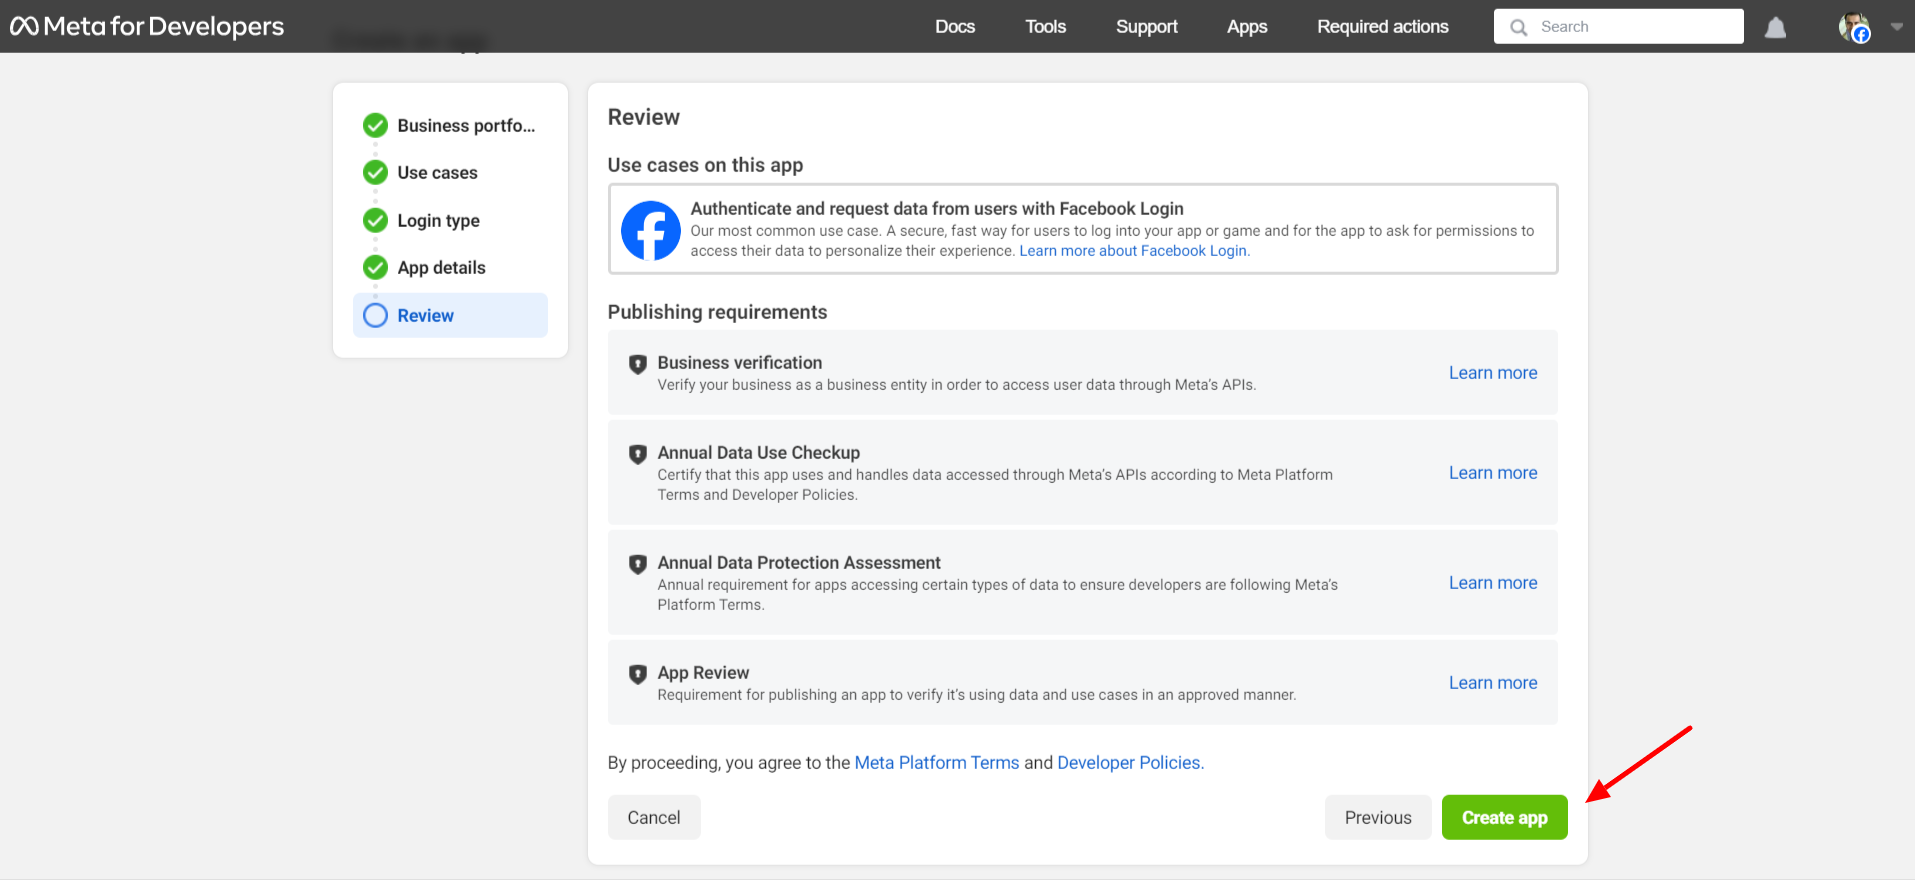
- Enter the App Display Name and App Contact Email.
- Click on Create App and complete the security check.
- On the "Add products to your app" page, click on the Set Up button under the Facebook Login option.
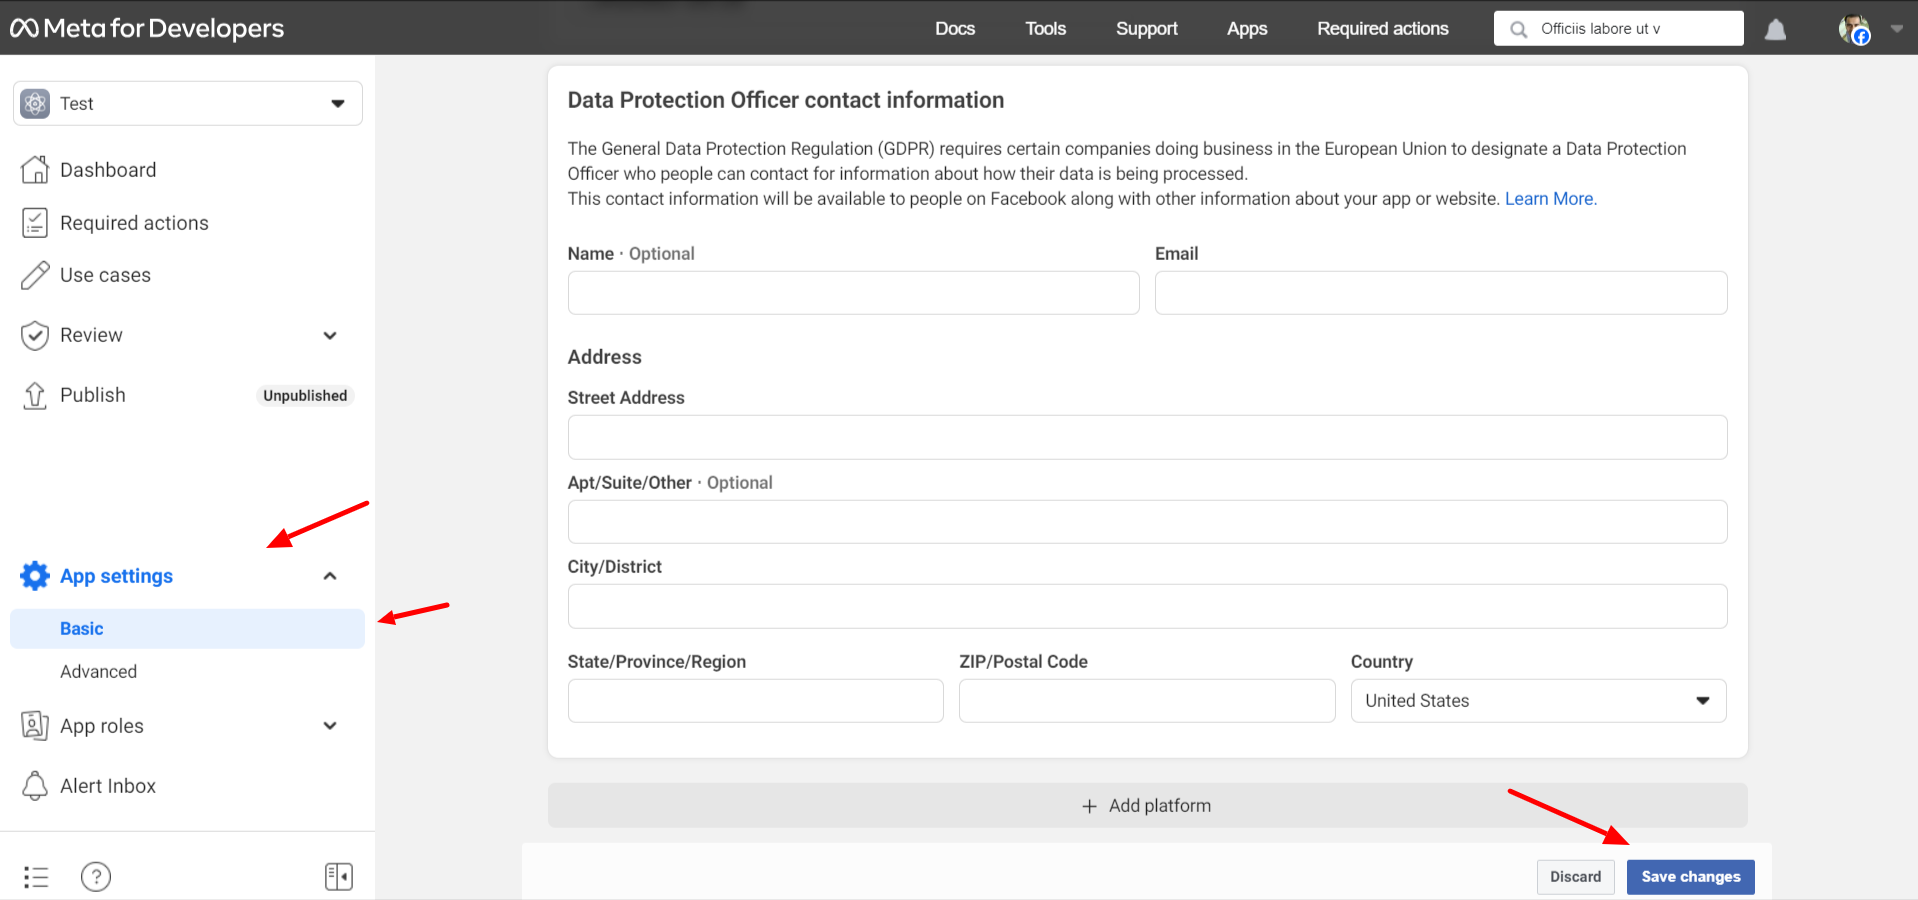
- Enter siteproofs.com in the App Domain.
- Enter your Privacy Policy URL.
- Under User Data Deletion, select Data Deletion Instruction URL from the dropdown and enter the URL of the page with instructions on how users can delete their accounts on your site.
- Select the Category of your website.
- Click on Save Changes.
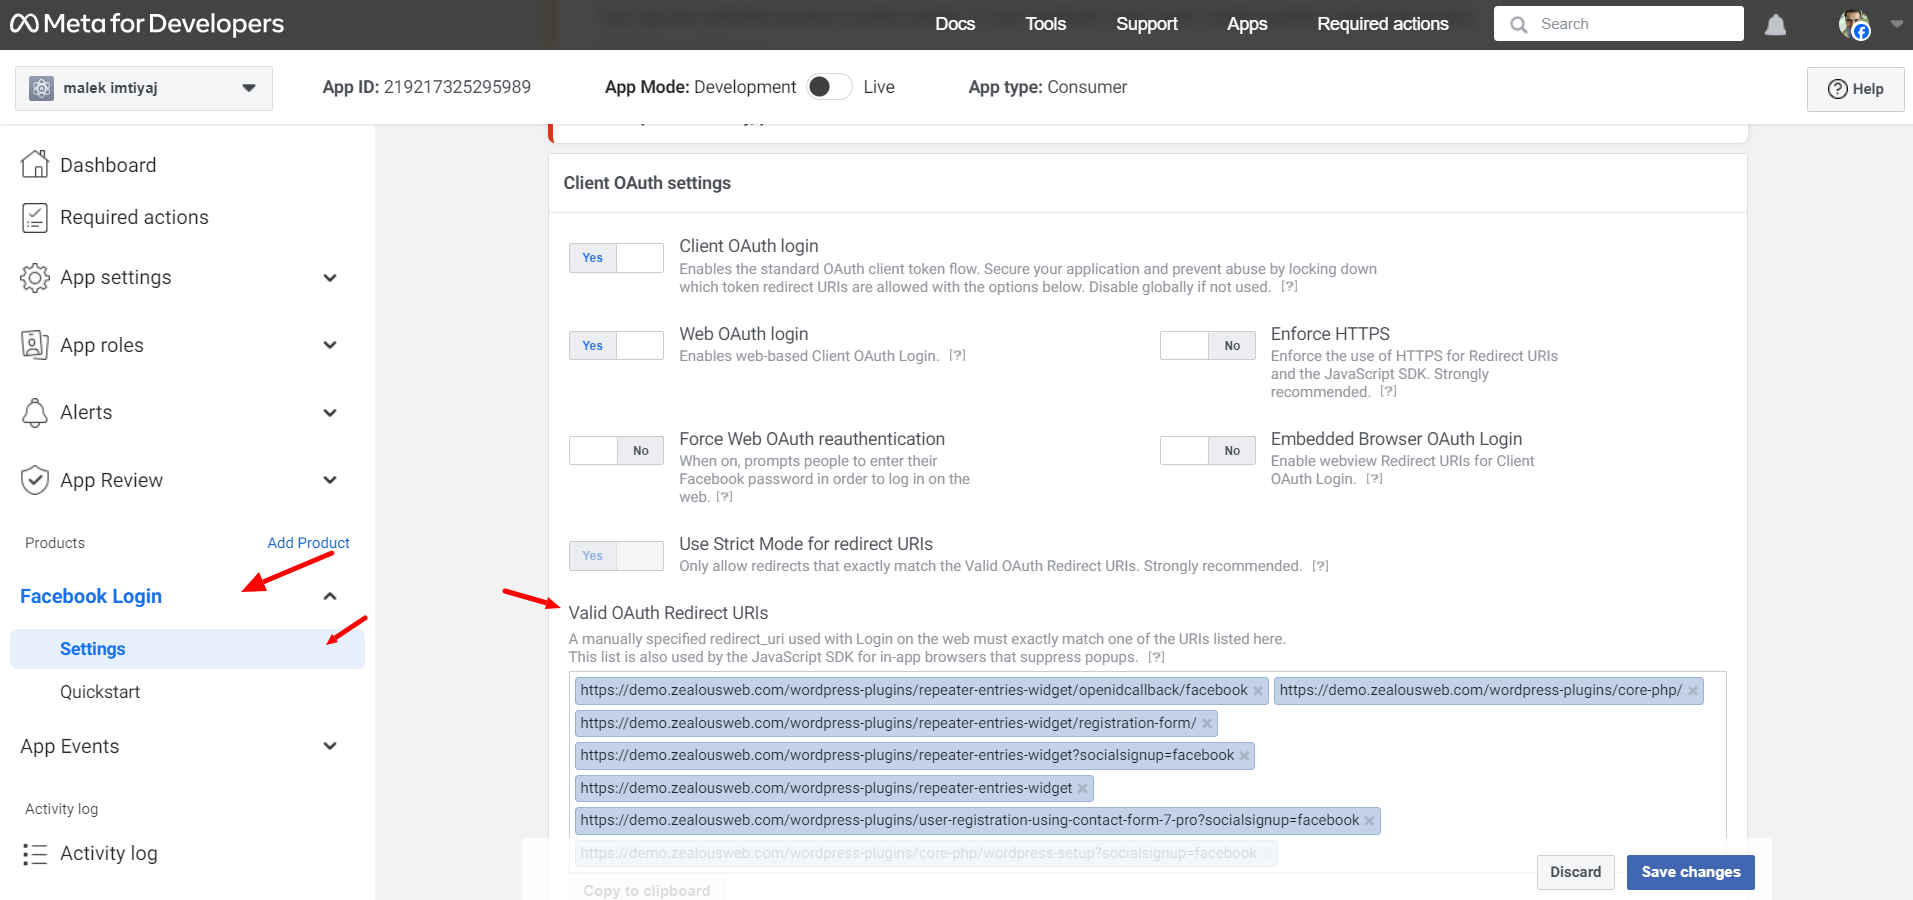
- On the left side panel, click on Facebook Login and select Settings.
- Scroll down and add the following URL to the Valid OAuth redirect URIs field: https://demo.zealousweb.com/wordpress-plugins/user-registration-using-contact-form-7-pro?socialsignup=facebook.
- Click on Save Changes.
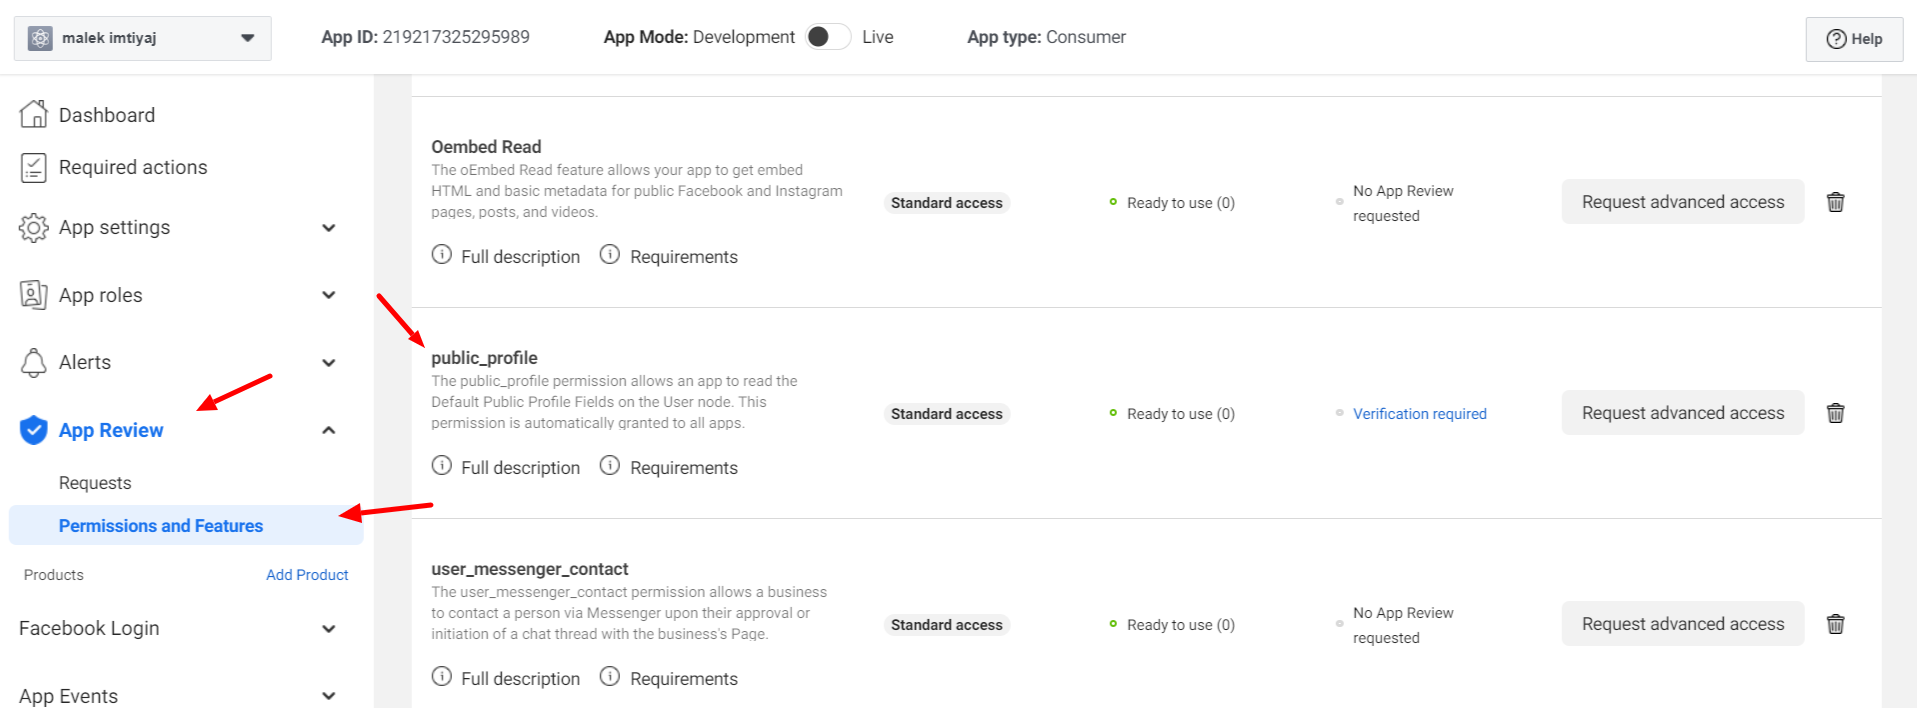
- Click on the App Review tab from the left-hand side menu and click on Permissions and Features.
- Click on Request Advanced Access for public_profile and email.
- If you need any extra data to be returned, request permission for those scopes.
- In the toolbar, change your app status from In Development to Live by clicking on the toggle button.
- Click on Switch Mode to confirm.
- Go to Settings > Basic.
- Copy your App ID and App Secret provided by Facebook.
- Paste them into the corresponding fields in your application configuration.
- Input email, public_profile as the scope in your application configuration.
- If asked, complete the Data Use Checkup.
- Click on the Start Checkup button.
- Certify Data Use for public_profile and email.
- Provide consent to the Facebook Developer’s Policy and click on Submit.
- If you want to access user_birthday, user_hometown, or user_location, you need to send your app for review to Facebook.
- For submitting an app for review, follow the instructions here.
- After your app is reviewed, you can add the approved scopes to your application.
- If your app is not approved or is in the process of getting approved, use the scope email, public_profile.
Facebook Sign Up Setting

For User Registration Transaction List
For User Registration Form Details
Facebook Authentication:
Here are the steps to create a Facebook account and set up Facebook Sign-Up settings using the Facebook Developers Console:
Step 1: Create a Facebook Account
If you don't already have a Facebook account, you'll need to create one.
Step 2: Access Facebook Developers Console
Step 3: Create a New App
Step 4: Set Up Facebook Login
Step 5: Configure OAuth Redirect URIs
Step 6: Request Permissions
Step 7: Make Your App Live
Step 8: Retrieve App ID and App Secret
Step 9: Input Scopes
Step 10: Complete Data Use Checkup
Step 11: Request Extra Attributes
By following these steps, you will have successfully set up Facebook Sign-Up settings for your application. If you encounter any issues or need further assistance, feel free to ask!
Get Support
FAQs
Does user data delete from the CPT, once we delete the User?
No, it won’t delete the CPT or the particular post as we are keeping it as it is for the data records.
Does this plugin support multiple Contact form 7 for registration or login?
No, unfortunately the current version does not support multiple Contact Form 7 for registration or login.
Change log
version 2.1
- Improved compatibility with WordPress VIP platform by refactoring code to adhere to VIP coding standards.
version 2.0
- Advanced Custom Fields (ACF) mapped
- Facebook Sign Up with a limited set of fields
- Option to include the login URL in the email.
version 1.2
Tested - Checked with Latest CF7 5.6 version and WordPress.
version 1.1
Fix - The quick-edit/edit/trash function do not show above the custom post type in admin screen.
version 1.0
Initial Release.