ZealPush Notification
Overview
Description
The ZealPush Notification plugin for Craft CMS is designed to enhance communication with users by delivering pop-up notifications directly to their devices, even when the website is inactive. These notifications can include reminders, updates, discounts, and other important information.
Plugin's purpose and benefits
This plugin helps you:
- Engage users continuously through alerts, reminders, and updates.
- Enhance marketing by sending notifications with images, URLs, and emoticons.
- Store and manage notifications for future use.
- Resend notifications or schedule them using an inactive status.
Get Started
Quick setup instructions
How To Use & Features
How Does This Extension Work?
ZealPush Notification integrates with Firebase to send push notifications directly to users. Admins can send personalized notifications, including titles, URLs, images, icons, and even schedule them for future use. Notifications can be sent to users who have granted permission to receive them.
Here is an example of how a notification with an image and icon might look:
Example Image
Major Features:
- Create and edit notifications with titles, images, icons, and URLs.
- Store notifications for future use and resend them.
- Delete unnecessary or outdated notifications.
- Option to send notifications immediately (Active status) or store them for later (Inactive status).
- Interactive features to grab user attention.
Installation Steps
From the Plugin Store (Without Composer):
- Go to the Plugin Store in your project’s Control Panel.
- Search for ZealPush Notification.
- Click the Install button.
With Composer:
- Navigate to your project directory:
cd /path/to/my-project
- Require the plugin:
composer require zealouswebcraftcms/zealpush-notification
- Install the plugin:
/craft install/plugin zealpush-notification
How to Use
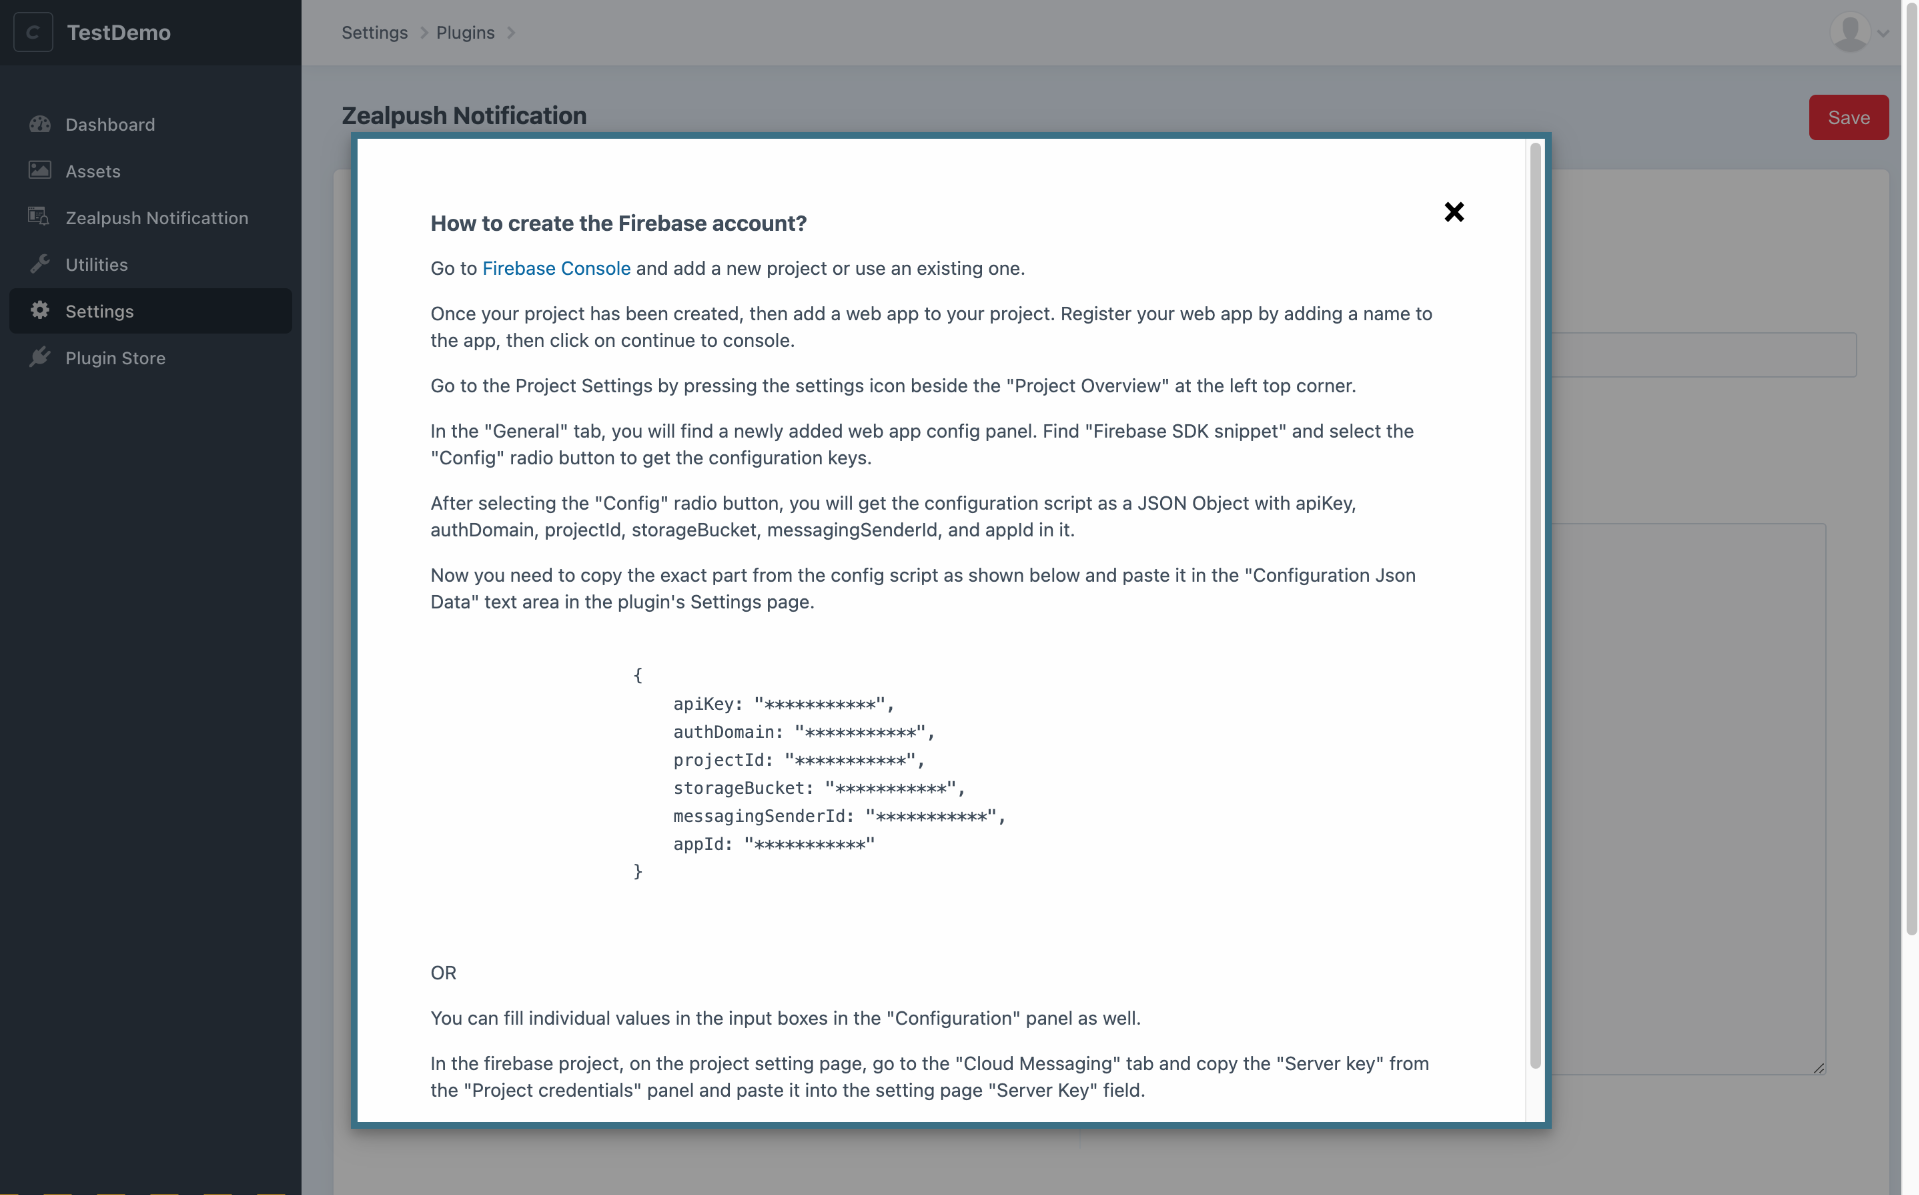
Step 1: Set up Firebase
- Add a new project or use an existing one.
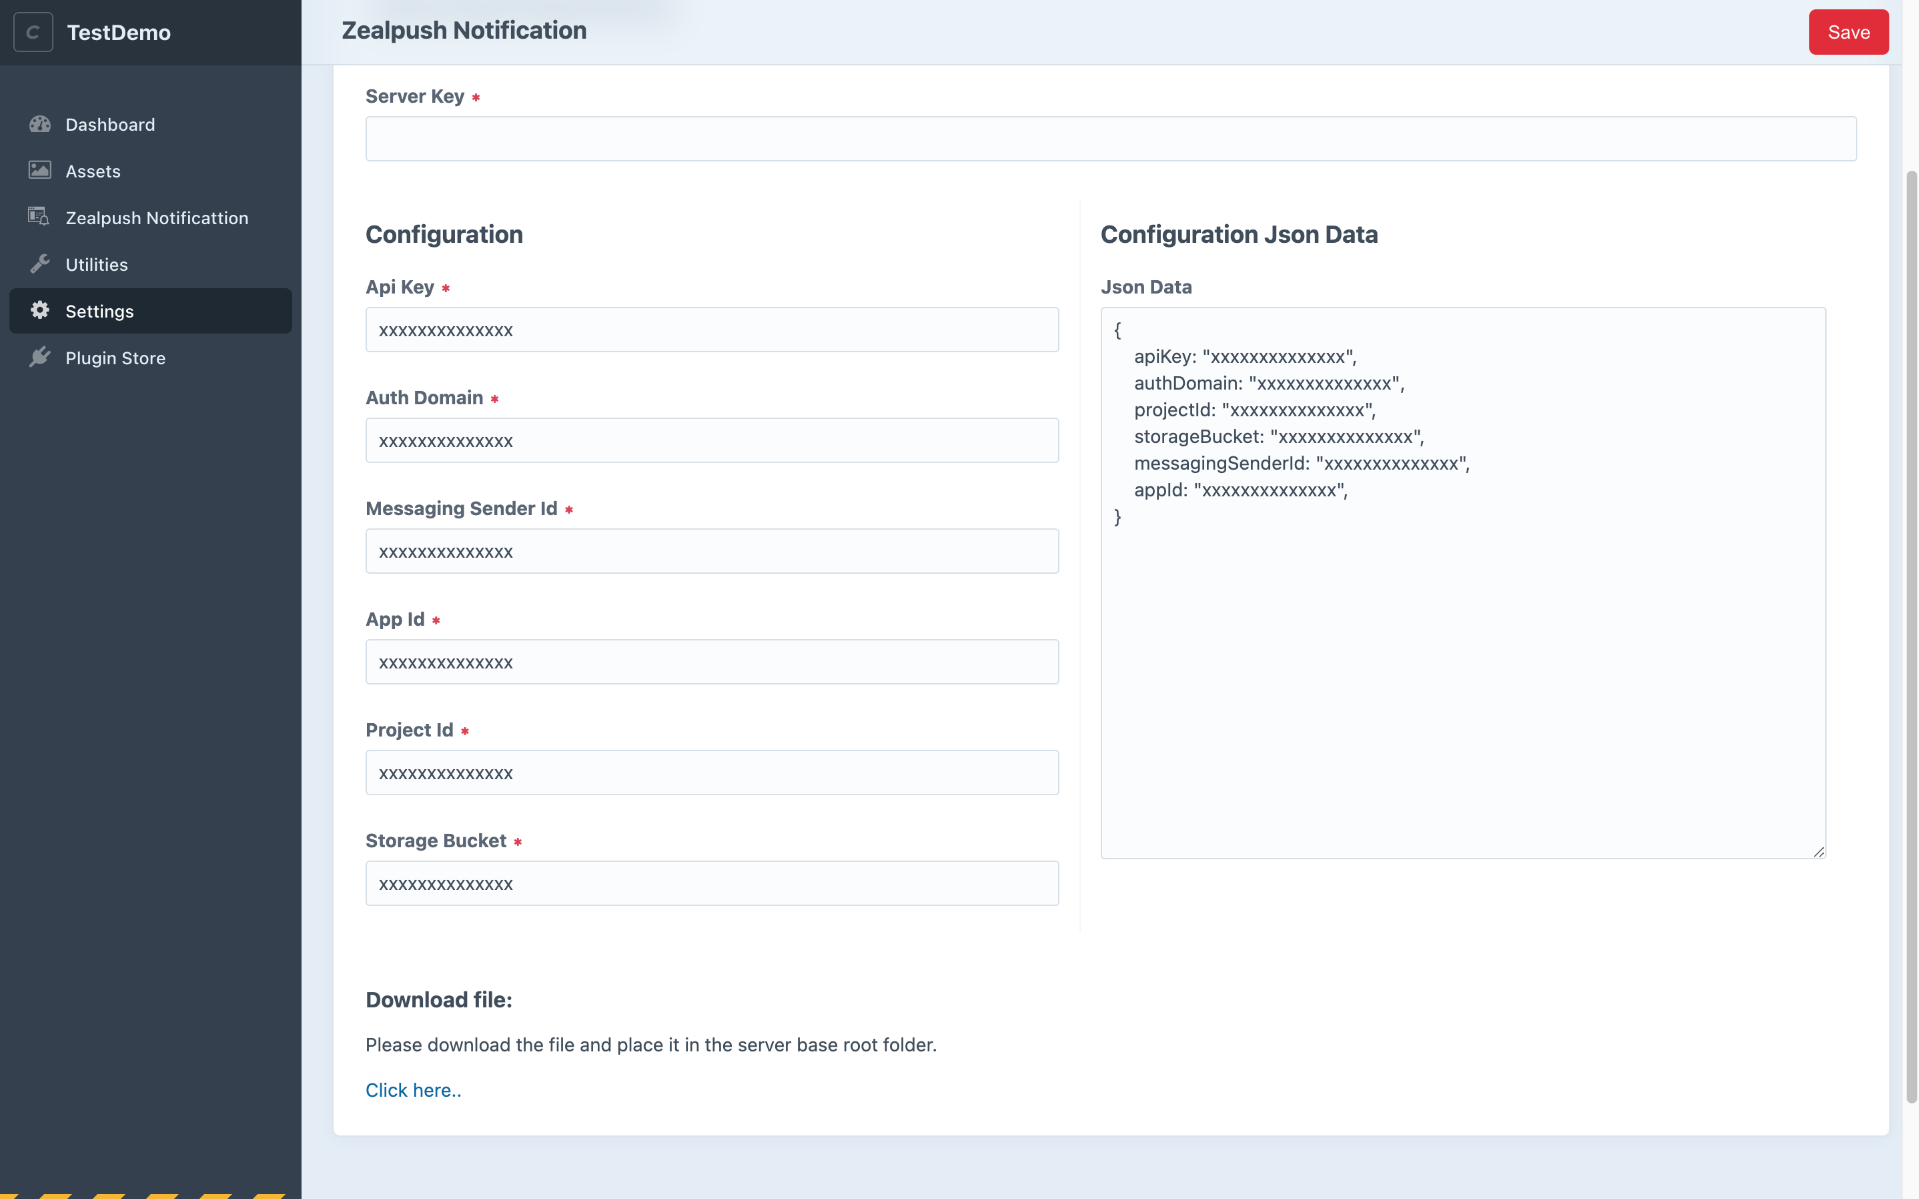
- Register your web app and retrieve configuration keys from the Firebase SDK snippet (Config radio button).
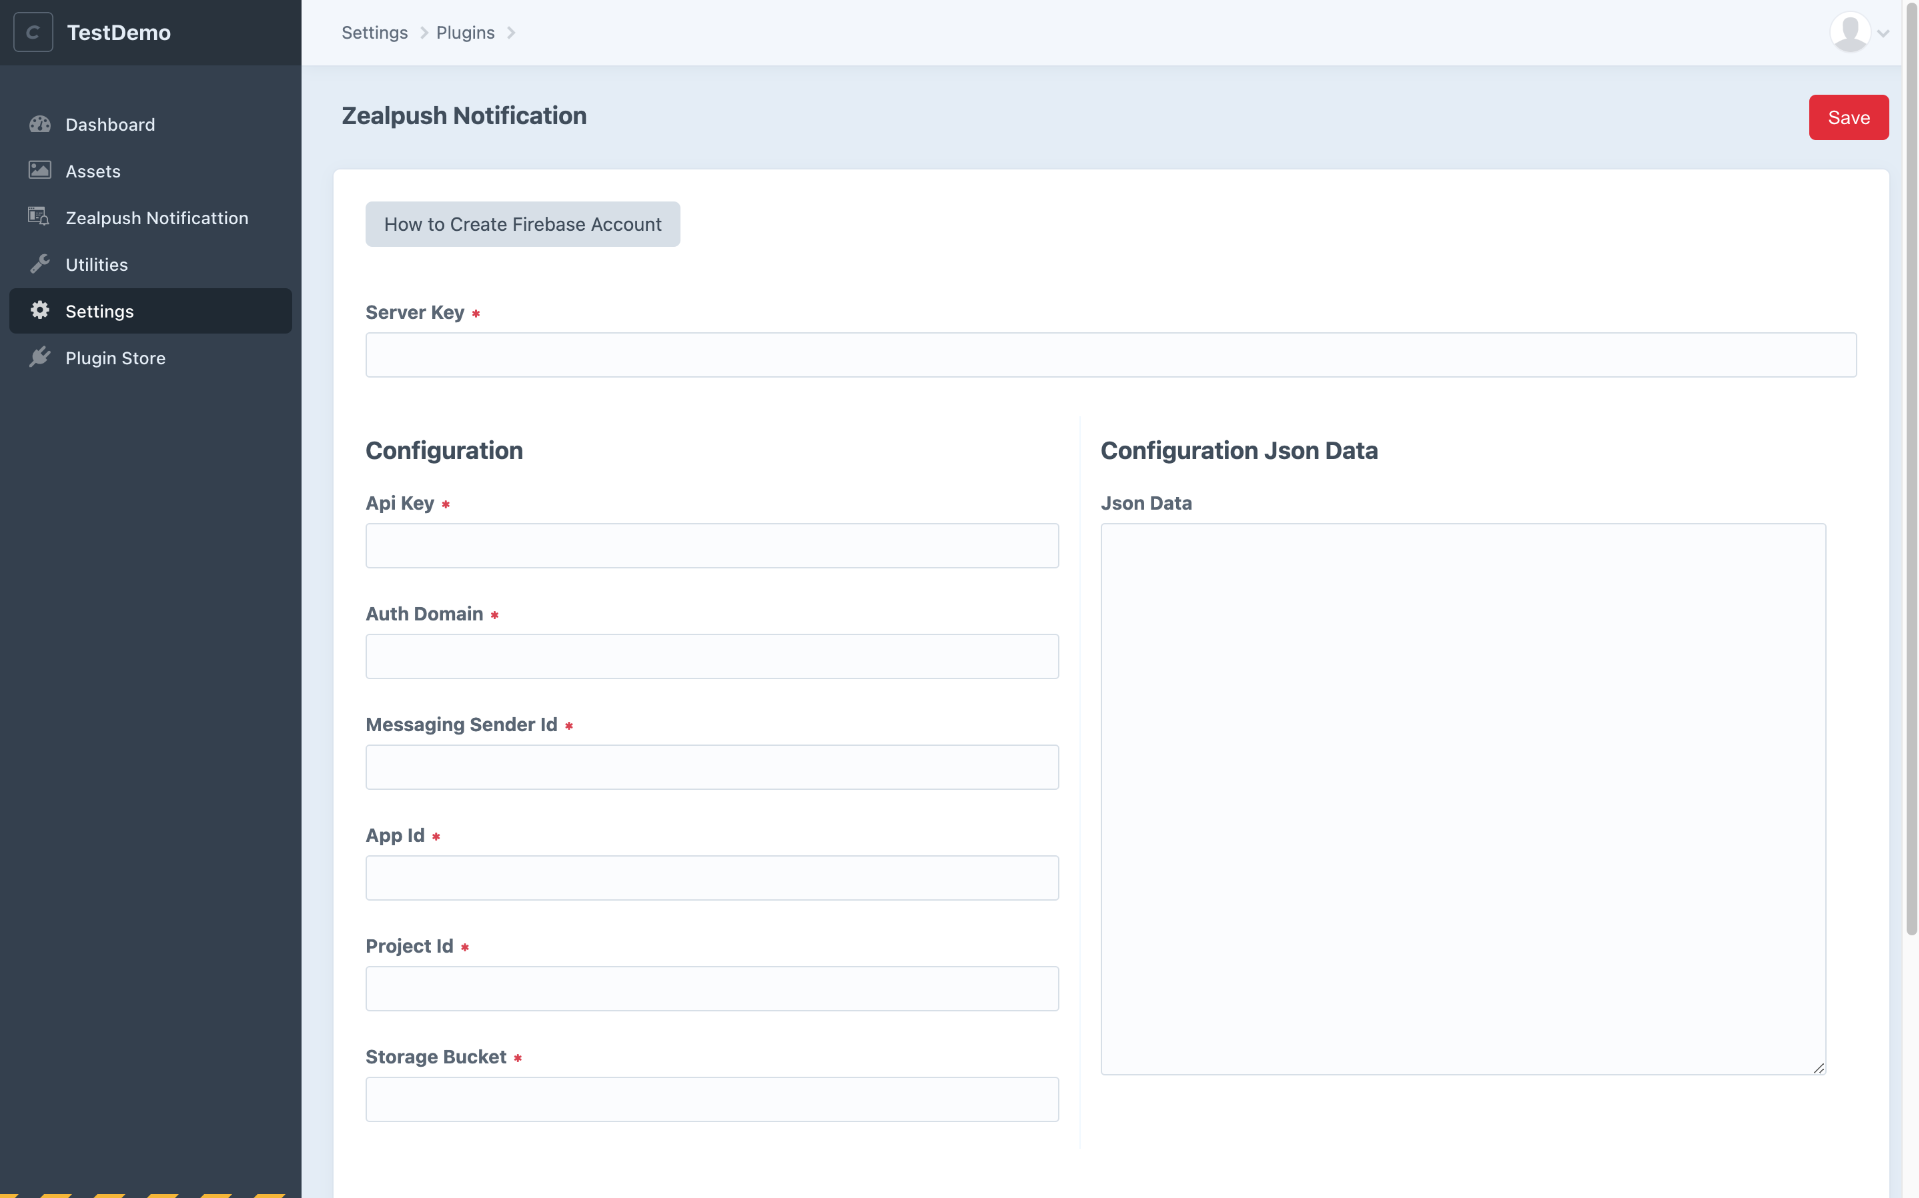
- Fill these values in the plugin’s Settings page
Step 2: Configure Cloud Messaging
- In the Firebase Console, under "Project Settings," copy the Server Key from the Cloud Messaging tab.
- Paste it into the plugin’s Server Key field.
Step 3: Notification Creation
Use the plugin to create notifications, adding a title, image, URL, and text. Notifications can be stored using the "Inactive" status for future use.
Step 4: Deleting Notifications
Delete notifications from the list page by selecting one or more notifications and removing them.
Get Support
FAQs
Can we install this extension using composer?
Yes, you can install this extension via composer
Change log
version 1.0.0
- Initial release


